Learn how to flat iron hair for a smooth finish with tips on heat settings, prep routines, and techniques for silky, salon-worthy results at home.
Let's be real for a second. There's nothing quite like running your fingers through perfectly sleek, glass-like hair and thinking, "Yeah, I did that." Flat ironing seems straightforward enough, right? You just clamp and glide. Well, not exactly. Without the right approach, you could end up with frizzy edges, stubborn kinks, or worse, damaged strands that feel like straw. Learning how to flat iron hair for a smooth finish is honestly a bit of an art form, and once you nail it, you won't ever want to go back to guessing your way through it. Whether you've got thick, curly locks or fine, wavy hair, getting that polished look takes more than just owning a decent flat iron.
Why Proper Preparation Makes All the Difference
Here's the thing most people skip, and it's honestly the biggest mistake you can make. Jumping straight to flat ironing without prepping your hair is like painting a wall without priming it first. Sure, the color goes on, but it won't look right, and it definitely won't last. Preparation is the foundation that separates a mediocre straightening job from a head-turning, mirror-worthy result.
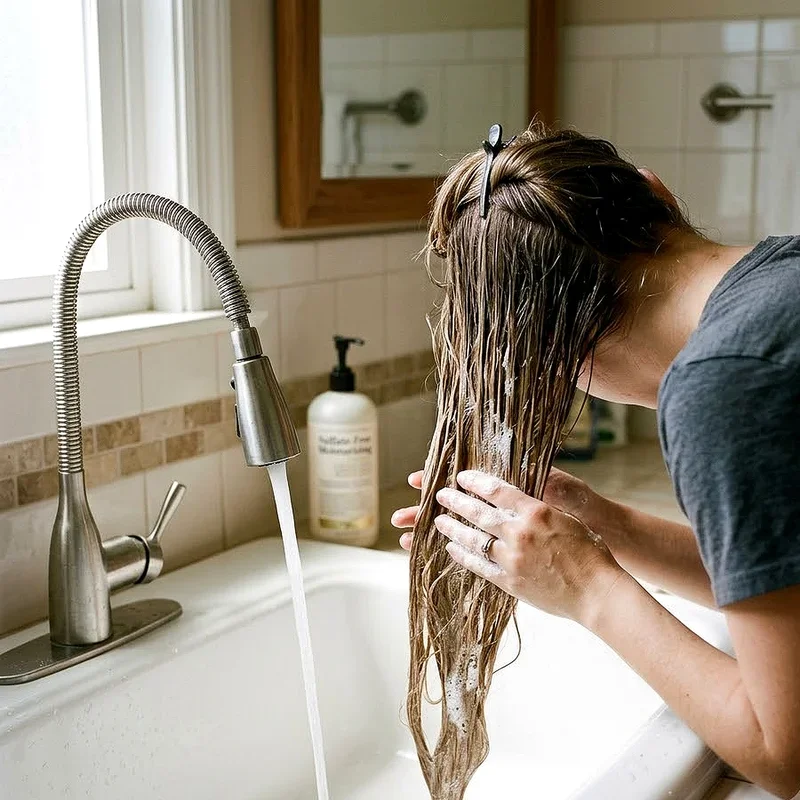
Start by washing your hair with a smoothing or sulfate-free shampoo. These formulas help tame frizz right from the get-go and keep your cuticles lying flat, which is exactly what you want before applying heat. Follow up with a lightweight conditioner that won't weigh your hair down or leave it greasy. If you've got particularly dry or damaged hair, a deep conditioning mask once a week can do wonders for keeping things manageable.
After washing, gently squeeze out excess water with a microfiber towel. Regular towels can rough up the cuticle and create frizz before you've even started styling. Patience goes a long way here. Let your hair air dry about seventy to eighty percent before you pick up any heat tool. Applying a flat iron to soaking wet hair isn't just ineffective, it can literally cause your strands to bubble and break from the inside out. Nobody wants that kind of damage on their conscience, or their head.
Choosing the Right Flat Iron for Your Hair Type
Not all flat irons are created equal, and picking the wrong one can leave you frustrated and your hair looking less than stellar. The plates, temperature range, and size of the iron all play a role in how your hair turns out, so it's worth taking a minute to figure out what works best for you.
Ceramic plates are a solid choice for most hair types. They distribute heat evenly and glide smoothly, reducing the chance of hot spots that can scorch your strands. Titanium plates heat up faster and maintain higher temperatures, making them ideal for thick or coarse hair that needs a bit more persuasion. Tourmaline plates emit negative ions that seal the cuticle and fight frizz, which is a game changer if you're dealing with humidity or naturally poofy hair.
When it comes to plate width, think about your hair's length and thickness. Narrow plates around one inch work great for short hair, bangs, and detail work around the face. Wider plates, around one and a half to two inches, cover more surface area and speed things up if you've got longer or thicker hair. And don't overlook the edges of the plates either. Rounded edges give you the flexibility to create slight bends or flips at the ends, while flat edges are all business when it comes to pin-straight results.
The Ideal Temperature Settings You Should Know
Cranking your flat iron to the highest setting and hoping for the best? Yeah, that's a recipe for disaster. Temperature matters more than most people realize, and getting it right is a crucial part of learning how to flat iron hair for a smooth finish without turning your locks into a crispy mess.
Fine or damaged hair should stay in the lower range, between 250 and 300 degrees Fahrenheit. These strands are more vulnerable to heat damage, and a gentler setting will still get the job done without frying things. Normal or medium-textured hair does well between 300 and 380 degrees. This sweet spot provides enough heat to smooth the cuticle without overdoing it. Thick, coarse, or very curly hair can handle temperatures between 380 and 450 degrees, though you should still start lower and work your way up only if needed.
Here's a little trick that seasoned stylists swear by. Do a test pass on a small section at a lower temperature first. If the hair smooths out in one or two passes, you're golden. If it springs back or stays wavy, bump the temperature up by ten to fifteen degrees and try again. The goal is always to use the lowest effective heat, because every extra degree adds up over time and takes a toll on your hair's health.
Step by Step Guide to Flat Ironing Like a Pro
Alright, now we're getting to the good stuff. You've prepped your hair, chosen the right tool, and dialed in your temperature. It's go time. Follow these steps and you'll be well on your way to the sleekest, smoothest hair you've ever had.
First, apply a heat protectant spray or serum evenly throughout your hair. This step is non-negotiable. Think of it as sunscreen for your strands. It creates a barrier between the hot plates and your hair, reducing moisture loss and preventing damage. Distribute the product from mid-shaft to ends, and don't forget the underlayers that tend to get ignored.
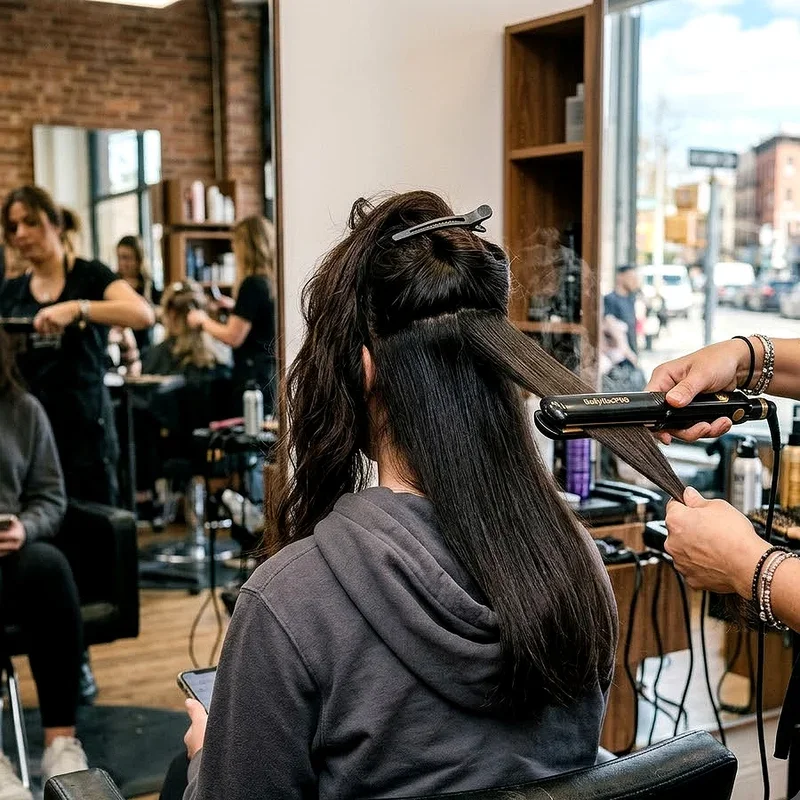
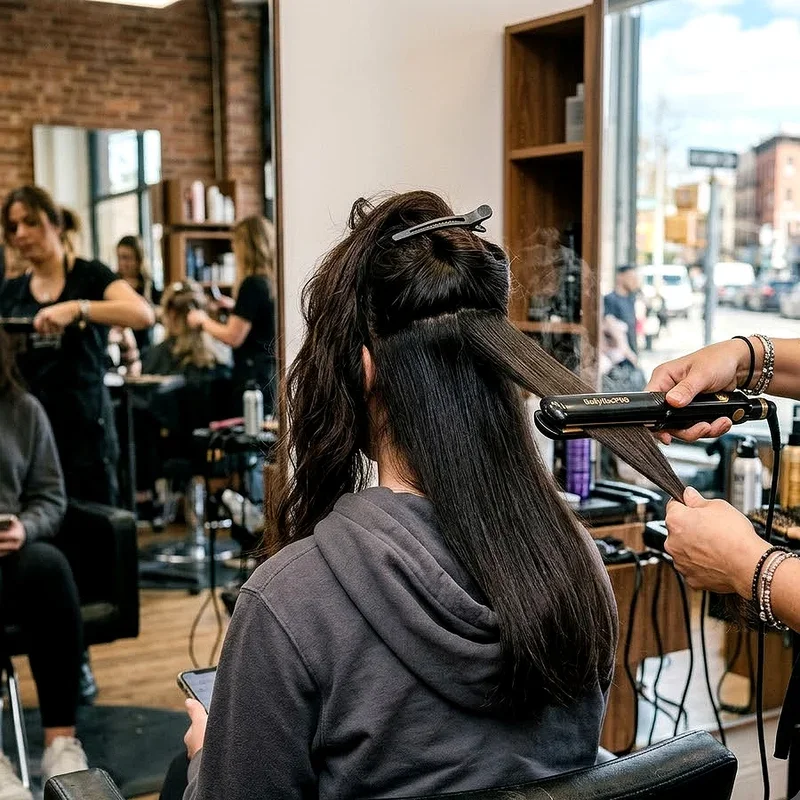
Next, section your hair using clips. Divide it into four to six sections depending on thickness, starting from the bottom and working your way up. Smaller sections give you more control and ensure that every strand gets proper contact with the plates. Rushing through big chunks of hair at once is tempting, but it leads to uneven results and you'll just end up going over the same spots multiple times anyway.
Now, take a one-inch section from the bottom layer and clamp the flat iron close to the roots, but not so close that you burn your scalp. Slowly glide the iron down toward the ends in one smooth, continuous motion. Keep the tension consistent and don't stop or pause mid-stroke, because that can leave dents or creases in the hair. One or two passes per section should do the trick if your temperature is set correctly.
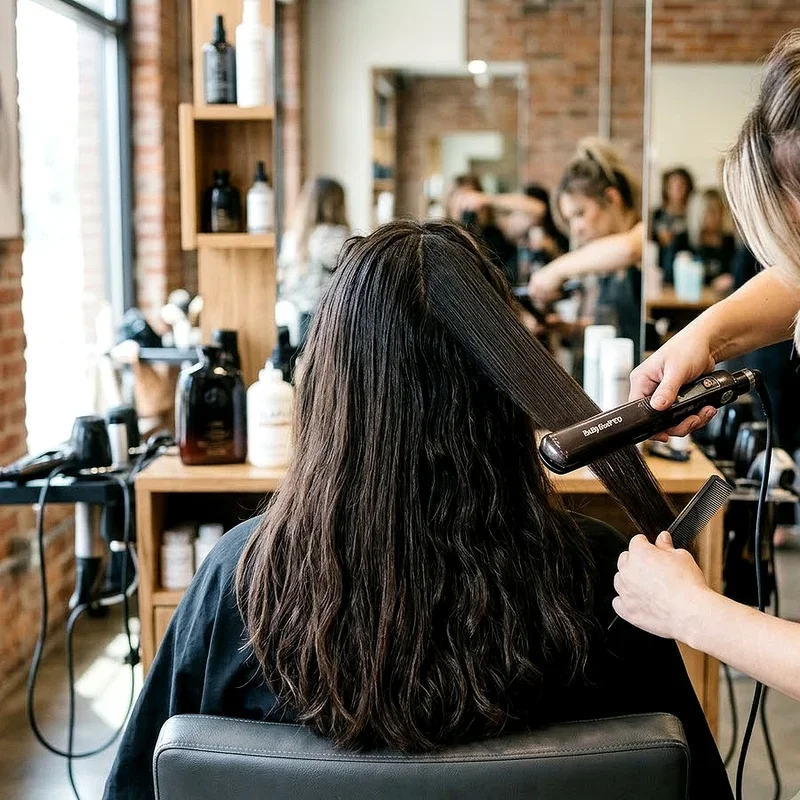
As you work through each section, use a fine-tooth comb to guide the hair into the plates. This little technique helps catch any tangles and ensures the heat distributes evenly across the strand. It also gives you that extra-polished, editorial look that makes people ask if you just came from a salon.
Once you've finished all sections, let your hair cool completely before touching it too much. This cooling period allows the cuticle to set in its new position, which is what locks in that smooth, shiny finish. Running your fingers through hot hair might feel satisfying, but it can actually undo some of your hard work by disrupting the cuticle before it's had a chance to settle.
Common Mistakes That Ruin Your Results
Even with the best intentions, there are a few pitfalls that can sabotage your straightening session. Knowing what to avoid is just as important as knowing what to do, so let's clear the air on some common blunders.
Skipping the heat protectant is probably the most widespread mistake out there. People think their hair can tough it out, but repeated heat exposure without protection leads to dryness, split ends, and breakage over time. It only takes a few extra seconds to spritz on some protectant, and your hair will thank you for years to come.
Going over the same section too many times is another big one. If your flat iron isn't smoothing things out in one or two passes, the temperature is too low, or your sections are too thick. Adjust those variables instead of dragging the iron back and forth repeatedly. That kind of excessive heat exposure is one of the fastest ways to damage your hair beyond repair.
Using dirty plates is a sneaky culprit that people often overlook. Product buildup, dust, and residue on the plates create an uneven surface that tugs at your hair and distributes heat inconsistently. Give your plates a quick wipe with a damp cloth before each use, and do a deeper clean with rubbing alcohol once a week. Clean plates glide better, heat more evenly, and give you a noticeably smoother result.
How to Make Your Smooth Style Last Longer
You've put in the work, so naturally you want those results to stick around for more than just a few hours. Making your flat ironed hair last is all about what you do after the styling is done.
Once your hair has cooled, apply a lightweight finishing serum or shine spray to seal everything in and add that extra glossy factor. Avoid heavy oils or creams that can weigh your hair down and attract dirt, making it look greasy by the end of the day. A little product goes a long way here, so start with a dime-sized amount and add more only if needed.
At night, loosely wrap your hair in a silk or satin scarf, or sleep on a silk pillowcase. Cotton pillowcases create friction that roughs up the cuticle and introduces frizz while you sleep. Silk keeps things smooth and can genuinely extend your style by an extra day or two. It's one of those small investments that pays off big time.
Humidity is the arch-enemy of straight hair, so on muggy days, a light anti-humidity spray can work miracles. These products form an invisible shield around each strand that repels moisture and keeps frizz at bay. If you know you're going to be in a humid environment, it's worth keeping a travel-sized bottle in your bag for quick touch-ups throughout the day.
Protecting Your Hair Health in the Long Run
Flat ironing regularly is totally fine as long as you're taking care of your hair between styling sessions. Think of it like exercise and recovery. You can push your hair through heat styling, but you've got to give it the nutrients and rest it needs to bounce back.
Deep conditioning treatments every week or two help replenish the moisture that heat strips away. Look for masks with ingredients like keratin, argan oil, or shea butter that penetrate the hair shaft and rebuild strength from the inside out. Leave them on for the recommended time, and if you really want to boost the effects, cover your hair with a shower cap while the mask sits. The trapped warmth helps the ingredients absorb more deeply.
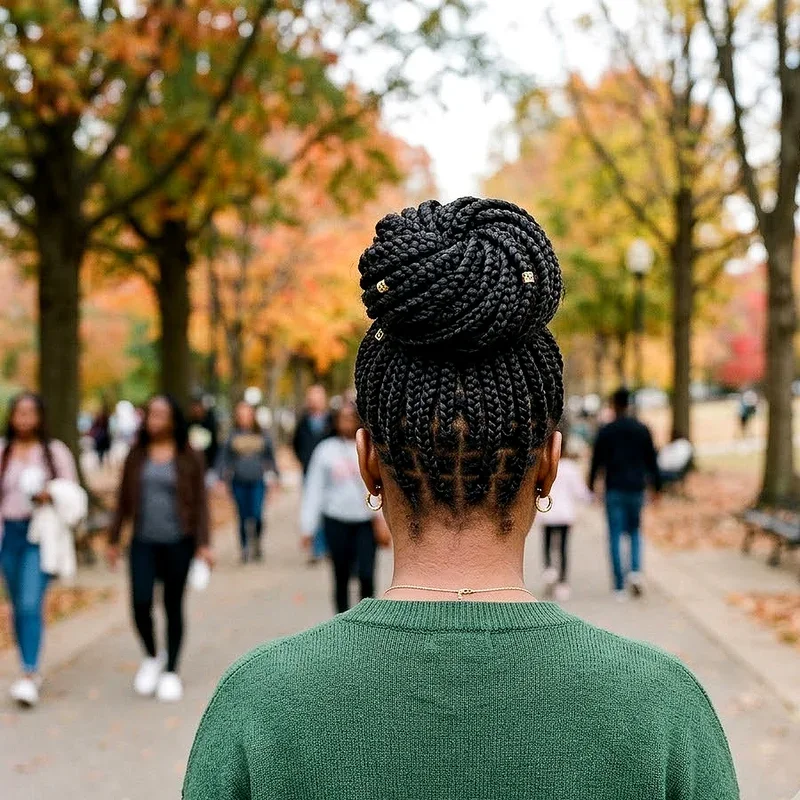
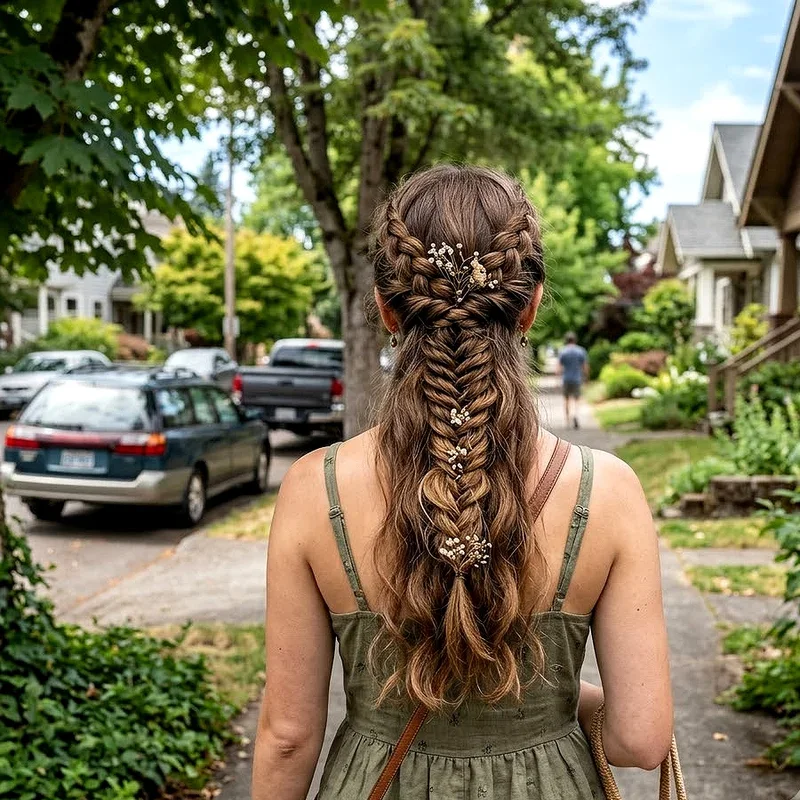
Try to give your hair at least one or two heat-free days per week. Embrace your natural texture, throw it up in a bun, or try a braided style that doesn't require any tools. These rest days let your hair recover and reduce the cumulative damage that comes with frequent heat styling. Your strands will actually respond better to the flat iron when you do use it, because they won't be starting from a depleted state.
Trimming your ends every six to eight weeks is another habit that keeps your hair looking its best. Heat styling tends to dry out the ends faster than the rest of your hair, and regular trims prevent those split ends from traveling up the shaft and causing more extensive damage.
How to Flat Iron Hair for a Smooth Finish on Different Hair Textures
One thing worth mentioning is that the approach changes a bit depending on your hair texture. What works for someone with fine, straight hair won't necessarily deliver the same results for someone with tightly coiled curls.
If you've got fine or thin hair, keep your sections extra small, your temperature low, and your passes to a minimum. Fine hair is more susceptible to heat damage, and it's easy to over-straighten it to the point where it looks flat and lifeless. A single slow pass at a moderate temperature should give you smooth results while still keeping some body and movement.
For thick or coarse hair, you'll likely need higher heat and might have to go over some sections twice, especially around the nape of the neck where hair tends to be the most resistant. Using a comb-chase technique, where you run a fine-tooth comb through the section right in front of the flat iron, helps ensure even heat distribution and a smoother finish.
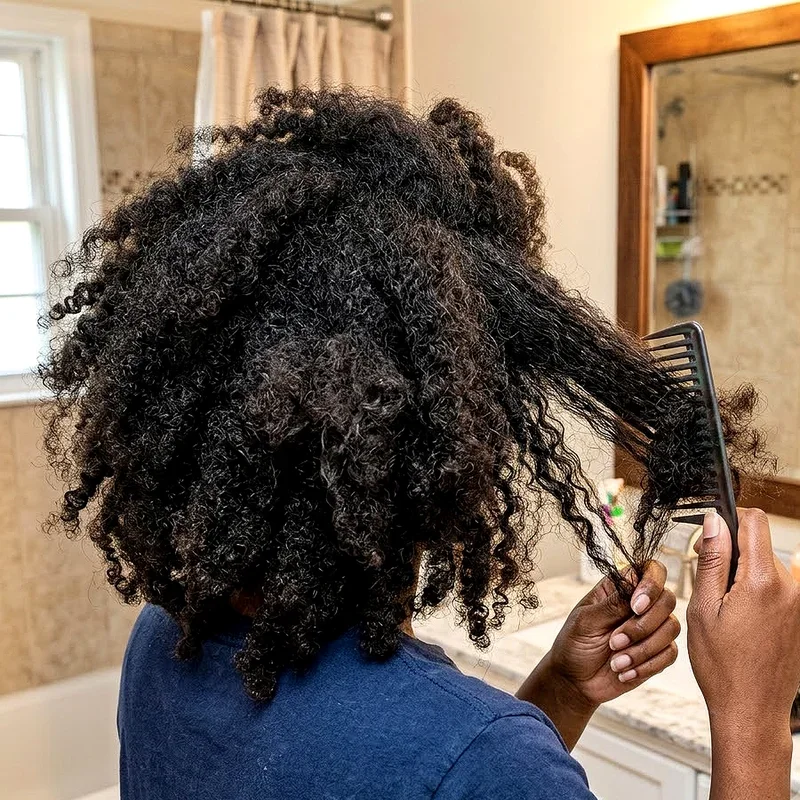
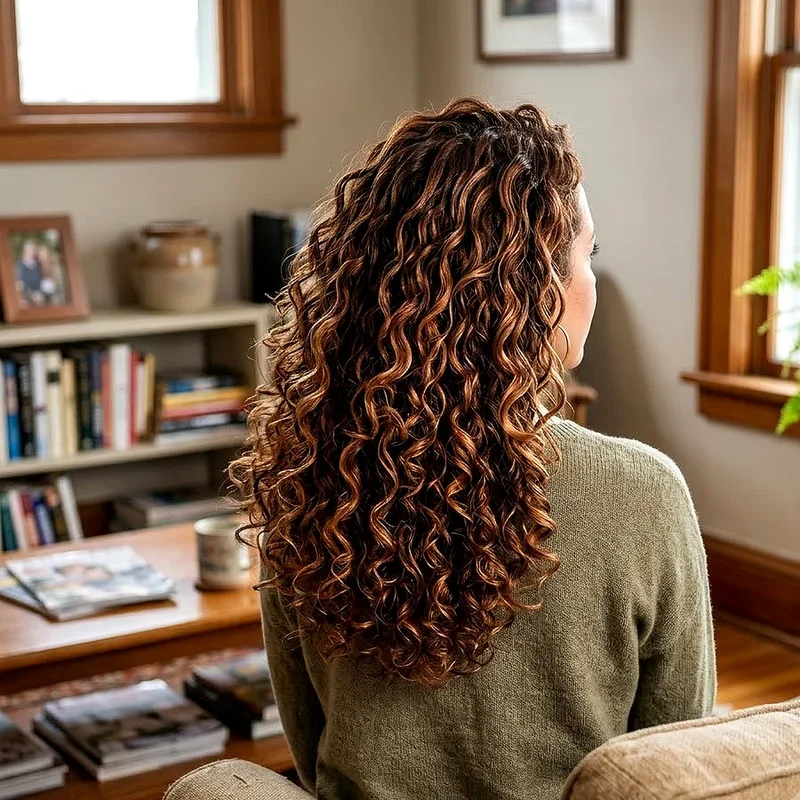
Curly and natural hair requires extra care and patience. Always work with fully detangled, well-conditioned hair, and use a flat iron with adjustable temperature control so you can find the perfect setting for your specific curl pattern. Pressing the plates too tightly or moving too slowly can cause heat damage, so aim for a steady, medium-speed glide with consistent pressure.
Conclusion
Mastering how to flat iron hair for a smooth finish comes down to preparation, the right tools, and proper technique. From choosing the correct temperature to sectioning carefully and protecting your strands, every single step plays a role in achieving that sleek, polished look you're after. Take your time, steer clear of common mistakes, and always prioritize hair health alongside style. With a little practice and patience, salon-quality results are completely within your reach without ever leaving your bathroom at home.
Frequently Asked Questions
Q1. How often can I safely flat iron my hair without causing damage?
A: Most stylists recommend flat ironing no more than once or twice weekly maximum.
Q2. Should I flat iron my hair when it is completely dry?
A: Yes, hair must be fully dry before flat ironing to prevent serious damage.
Q3. What type of heat protectant works best for flat ironing hair?
A: Spray protectants distribute most evenly, but serums work well for thicker hair types.
Q4. Can I flat iron my hair without causing frizz afterward?
A: Absolutely, using proper technique and finishing products keeps frizz completely under control.
Q5. How do I clean my flat iron plates properly at home?
A: Wipe cooled plates with a damp cloth and rubbing alcohol after each use.
Stay up to date with our latest ideas!