How to Detangle Curly Hair the Right Way
Discover how to detangle curly hair the right way using gentle methods that protect your curls from breakage and frizz.
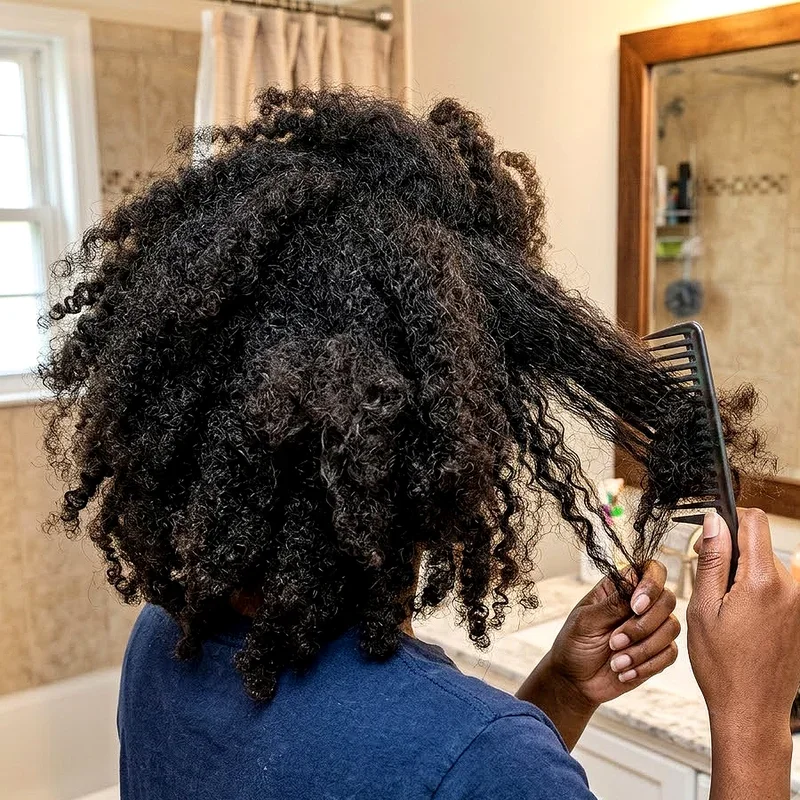
Let us face it, anyone who has ever dealt with a head full of tangled curls knows the struggle is painfully real. You wake up in the morning, look in the mirror, and somehow your hair has turned itself into a bird's nest overnight. It is frustrating, it is time-consuming, and if you handle it wrong, it can leave you with broken strands scattered across your bathroom floor.The thing is, most people never really learned the correct approach growing up. We were handed whatever brush was lying around and told to just get on with it. But curly hair does not play by the same rules as straight hair, and treating it that way only leads to damage and disappointment. Once you figure out how to detangle curly hair the right way, everything changes.
Why Curly Hair Gets So Tangled in the First Place
Before jumping into technique, it helps to understand what you are actually dealing with. Curly hair tangles more than straight hair, and there is a pretty straightforward reason for that. Each curl spirals and bends in different directions, creating countless points where strands can hook onto each other and form knots. Straight hair just hangs downward with gravity doing all the work, but curly strands have a mind of their own.
On top of the shape issue, curly hair runs dry more easily. Your scalp produces natural oils just like everyone else's, but those oils have a much harder time sliding down a twisted strand compared to a straight one. Without that lubrication, the hair cuticle stays rough and open, and rough cuticles love to grab onto neighboring strands. Toss in some wind, a cotton pillowcase, and maybe a ponytail holder that has been in there a little too long, and you have got yourself quite the knotted situation.
Humidity plays a sneaky role too. When moisture from the air seeps into the hair shaft unevenly, it causes the strand to swell and frizz. Frizzy strands stick to each other, and suddenly a minor tangle turns into a full-blown matted section. Understanding all of this helps you approach detangling with a plan rather than just attacking your hair and hoping for the best.
Gathering the Right Tools for the Job
Walking into a detangling session without the right tools is a bit like showing up to a cooking class without a single pot. You are setting yourself up to fail before you even start.
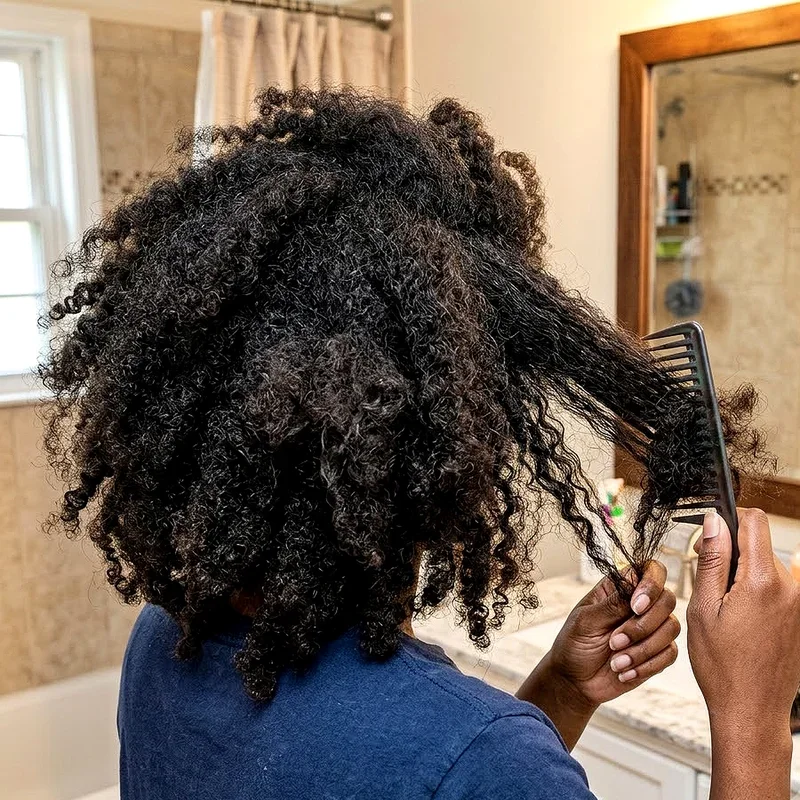
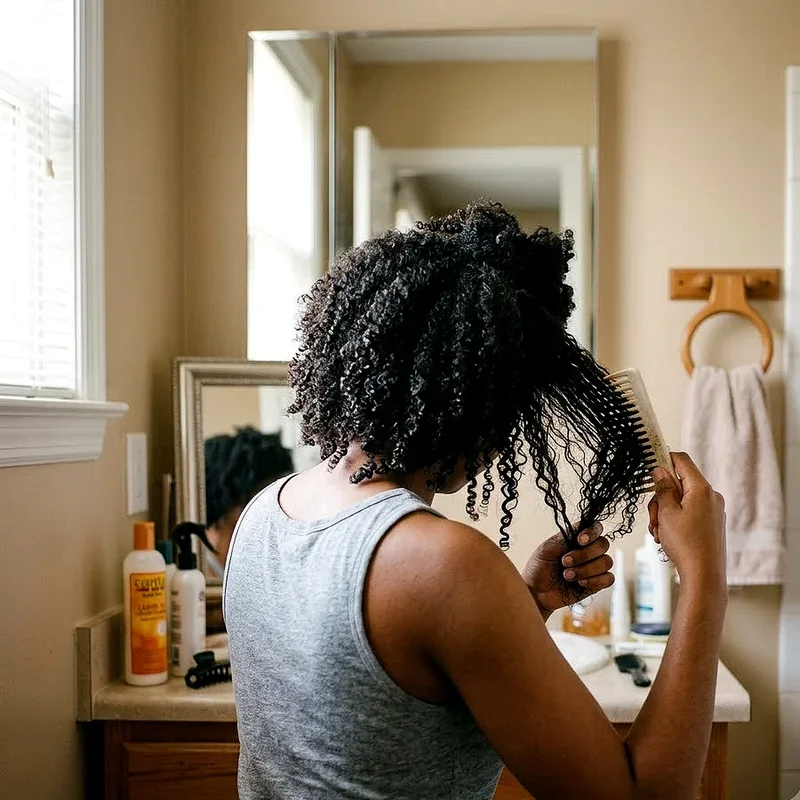
The first thing you need is a wide-tooth comb. This is non-negotiable. Those tiny fine-tooth combs might work for sleek straight styles, but they will tear through curly hair without mercy. A wide-tooth comb has enough space between the teeth to pass through curls without ripping them apart. Some people also love flexible detangling brushes that bend and give as they move through the hair, which reduces the pulling sensation significantly.
A really good conditioner with lots of slip is your next essential item. Slip is that slippery, gliding feeling you get when you rub the product between your fingers. The more slip a conditioner has, the easier tangles will come apart. You can use a regular rinse-out conditioner, a leave-in formula, or even a dedicated detangling spray. Whatever you choose, make sure it coats the hair thoroughly and makes each strand feel smooth to the touch.
Keep a spray bottle of plain water within arm's reach too. If your hair starts drying out halfway through the process, a few quick spritzes bring the moisture right back. And grab some sectioning clips while you are at it. They cost almost nothing but save you an enormous amount of time and hassle.
How to Detangle Curly Hair the Right Way from Start to Finish
Alright, here is the part you have been waiting for. Let us walk through the entire process step by step so you can get those knots out without sacrificing a single curl.
Always Begin with Damp Conditioned Hair
This cannot be stressed enough. Dry detangling is the fastest route to breakage, period. When curly hair is dry, it has very little flexibility, and forcing a comb through it will snap strands like twigs. Wetting your hair first makes it more pliable and forgiving, and adding conditioner on top of that creates a slippery layer that lets tangles slide apart instead of tearing apart.
You can do this in the shower or outside of it. Some folks like to stand under warm water and let the steam help soften their curls while they work. Others prefer to sit comfortably somewhere, spray their hair damp, and apply conditioner section by section. Neither method is better than the other, so pick whichever suits your routine and your patience level.
Break Your Hair into Manageable Sections
Trying to tackle your entire head at once is tempting, but it almost always backfires. Your hair re-tangles faster than you can detangle it, and you end up going in circles. Instead, split your hair into four to six sections and clip each one up and out of the way.
Working with smaller sections means you can see exactly what you are dealing with. Hidden tangles near the nape of your neck or behind your ears do not get overlooked. Plus, it just feels less overwhelming when you are only focusing on one manageable chunk at a time rather than staring down the entirety of a tangled mane.
Start at the Tips and Work Your Way Up
Here is where so many people go wrong, and honestly, it is not their fault. Nobody teaches you this stuff in school. The natural instinct is to start combing from the top and drag downward, but with curly hair, that approach shoves all the small tangles together into one giant super knot at the bottom of the strand.
Instead, hold a section of hair in one hand and start detangling from the very bottom tips. Work through the last couple of inches first, then move up a little higher, then a little higher still. Each time, you are only dealing with a small portion of tangles rather than compounding them. It takes longer, sure, but the difference in how much hair you keep on your head versus on your floor is absolutely worth it.
Use Your Fingers as Your First Tool
Before you even think about picking up a comb, use your fingers. Seriously, they are the most underrated detangling tool in existence. Your fingers can feel exactly how tight a knot is and adjust accordingly. A comb just plows through without any feedback.
Run your fingers gently through each section, pulling apart the larger clumps and removing any shed hairs that have gotten trapped in the curl pattern. Curly hair sheds just like every other hair type, but instead of falling to the ground, those loose strands get caught in the spirals and create matting over time. Getting them out manually before using a comb prevents a lot of unnecessary pulling and tugging.
Finish with a Wide-Tooth Comb or Brush
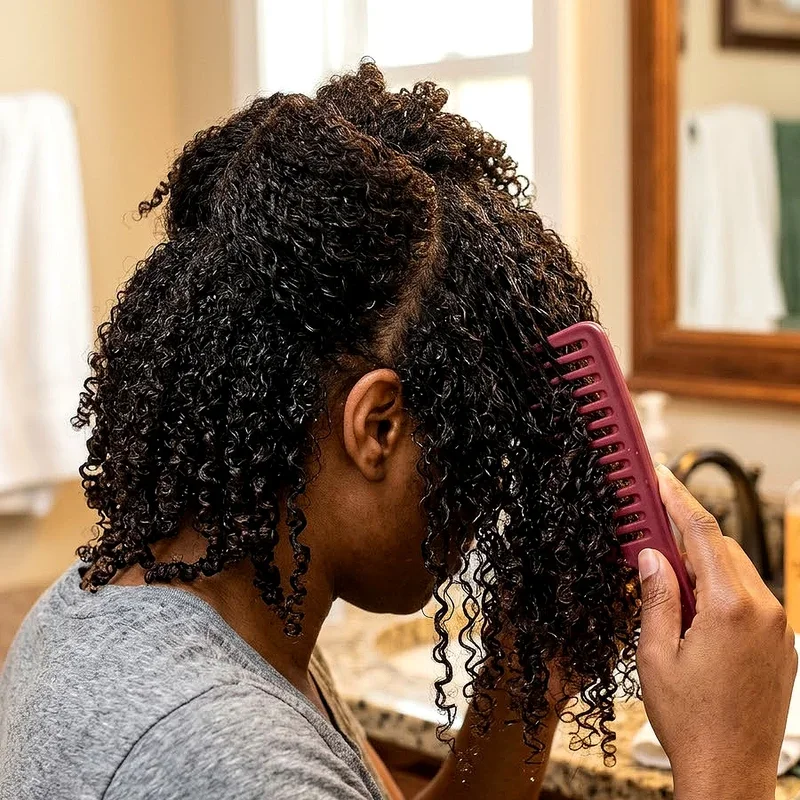
After finger detangling, go through each section with your wide-tooth comb or detangling brush. Start from the ends again and work upward. At this point, the comb should glide through pretty smoothly. If it hits a snag, stop immediately. Do not force it through. Go back with your fingers, work the tangle loose, add a touch more conditioner if needed, and then try the comb again.
This whole process is about patience and gentleness. The moment you start yanking or rushing, you lose hair you did not need to lose.
Mistakes That Make Detangling Way Harder Than It Should Be
Even people who have been caring for curly hair their whole lives sometimes fall into bad habits. Recognizing these common errors can spare you a lot of grief.
Detangling completely dry hair tops the list of things to avoid. It might seem quicker to just grab a brush and run it through dry curls before heading out the door, but you are ripping through strands that have no elasticity in that state. Always add moisture first, even if it is just a quick spray and a dab of leave-in conditioner.
Using tools meant for straight hair is another pitfall. Those paddle brushes and fine combs create way too much tension for curly textures. They catch every twist and bend, pulling strands apart at the weakest points. Investing in a proper detangling brush designed for textured hair makes a world of difference.
Waiting too long between detangling sessions causes problems too. If you only detangle once a month, those tangles have had weeks to tighten and compound. What could have been a quick ten-minute task turns into an exhausting hour-long session. Staying on a regular schedule, even if that means a brief mid-week finger detangle, keeps things manageable.
And then there is the brute force approach. Some people treat their hair like it owes them money, ripping through knots with zero regard for the strands breaking in the process. Curly hair is strong, but it is not invincible. Ease through each tangle with care, and your curls will reward you by looking healthier and more defined.
Preventing Tangles Between Wash Days
Detangling properly on wash day is fantastic, but what about the days in between? If you are not taking steps to prevent tangles from forming, you are just going to face the same mess again a few days later.
Sleeping on a silk or satin pillowcase is one of the simplest changes you can make with some of the biggest payoff. Cotton creates friction against your hair all night long, roughing up the cuticle and encouraging knots. Silk and satin are smooth, letting your curls slide around without catching. A silk bonnet or a loose pineapple updo secured with a satin scrunchie works just as well if you move around a lot in your sleep.
Refreshing your curls with a light mist of water and a small amount of leave-in conditioner every couple of days keeps them hydrated and less likely to tangle. Dry hair is tangled hair, so maintaining that moisture balance throughout the week really pays off.
Try not to touch your hair too much during the day either. Every time you run your fingers through it, separate curls, or flip it from one side to the other, you are giving strands the chance to interlock and knot up. Adopt a hands-off approach once your hair is styled, and it will stay smoother for longer.
Protective styling is another great strategy. Loose braids, twists, low buns, and similar styles keep your curls contained and organized, drastically reducing the friction and movement that cause tangles in the first place.
Detangling Tips for Kids with Curly Hair
If you are a parent trying to detangle a squirming toddler's curly hair, you deserve a medal. Kids have tender scalps, short attention spans, and absolutely zero interest in sitting still while you work through their knots.
The key here is making the process as painless and even enjoyable as possible. Use a lightweight detangling spray that smells good and does not weigh their hair down. Work in tiny sections and be incredibly gentle. Distraction is your secret weapon, so put on their favorite show, let them play with a toy, or tell them a story while you carefully ease through each tangle.
Whatever you do, avoid pulling or tugging hard. A painful detangling experience can stick with a child and turn hair care into a battle for years. Teach them as they grow older how to care for their own curls. Show them how to finger detangle, explain why starting from the ends matters, and let them practice. Building those habits early sets them up for a lifetime of healthy hair.
Choosing Products That Actually Help with Detangling
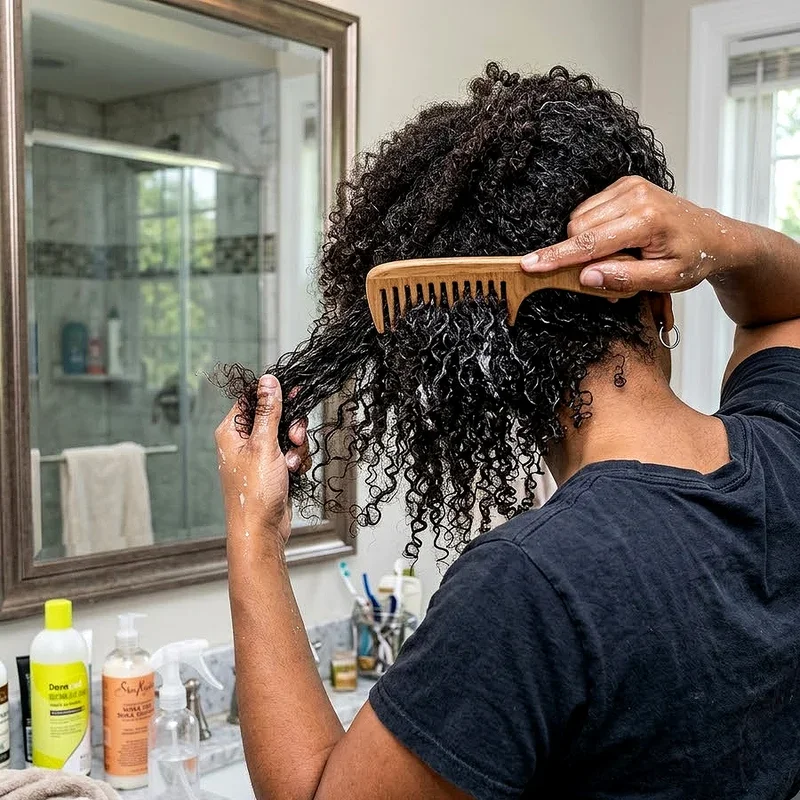
Not all conditioners and sprays are created equal, and finding the right products for your specific curl type can make detangling dramatically easier.
Look for formulas rich in ingredients that provide moisture and slip. Coconut oil, shea butter, aloe vera, marshmallow root, and vegetable glycerin are all excellent choices that coat the hair and help knots release without force. Some products contain silicones, which offer fantastic slip and smoothness, though people following stricter curly hair methods sometimes prefer to skip those.
Your hair's porosity matters when picking products too. If you have low-porosity hair, meaning water tends to sit on top rather than absorb quickly, go with lighter water-based formulas that will not leave a heavy residue. High-porosity hair soaks up moisture fast but loses it just as quickly, so thicker butters and creams that seal the cuticle tend to work better. Getting this match right turns a frustrating detangling session into something surprisingly smooth and satisfying.
Conclusion
Mastering how to detangle curly hair the right way truly transforms your entire hair care experience from something dreaded into something rewarding. Patience, proper tools, and a gentle hand are all it takes to preserve your beautiful curl pattern while minimizing breakage. Start from the ends, keep everything damp and conditioned, and never rush through the process. Your curls carry so much personality and beauty, and they absolutely deserve the careful treatment that keeps them looking their healthiest and most vibrant day after day.
Read next: 15 Hair Extensions Ideas Everyone Will Want to Try
Frequently Asked Questions
Q1. Should I ever detangle my curly hair when it is dry?
A: No, always wet your hair and add conditioner or detangling spray before you begin.
Q2. How many times a week should I detangle curly hair?
A: At least once weekly works well, though tangle-prone hair may need more frequent sessions.
Q3. Are detangling brushes actually better than regular brushes for curls?
A: Yes, detangling brushes flex and bend to reduce pulling and minimize breakage on curls.
Q4. What is the biggest mistake people make when detangling curly hair?
A: Starting from the roots instead of the ends, which pushes tangles into worse knots.
Q5. Can protective hairstyles really help reduce tangling between washes?
A: Absolutely, braids and twists keep strands contained so they cannot knot up together.
Stay up to date with our latest ideas!