How to Thin Out Hair: Simple Techniques to Try at Home
Discover practical methods for thinning thick hair at home. Learn professional techniques, tools, and tips for manageable, beautiful hair today.
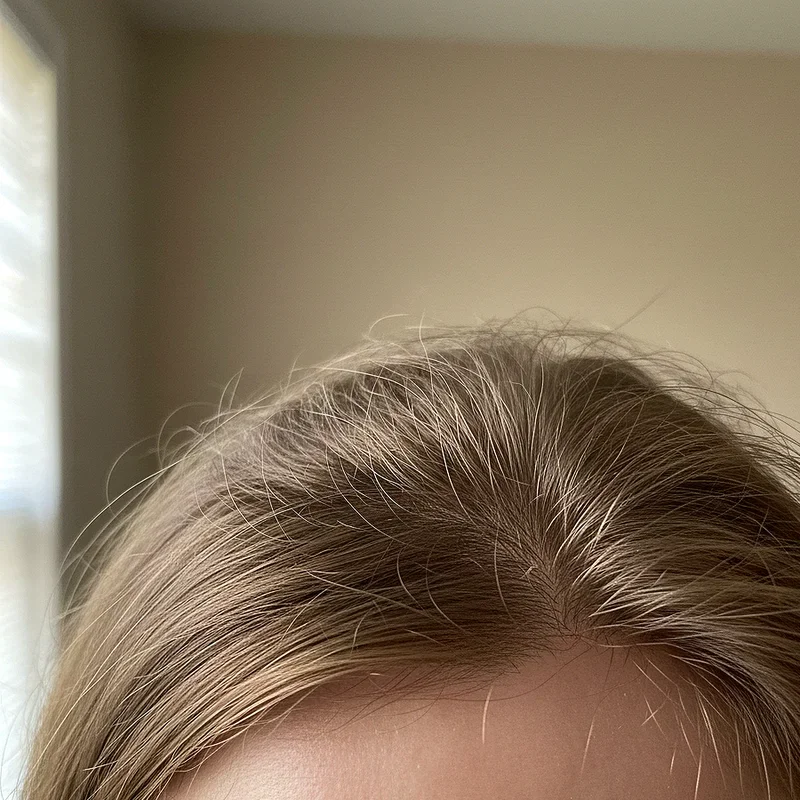
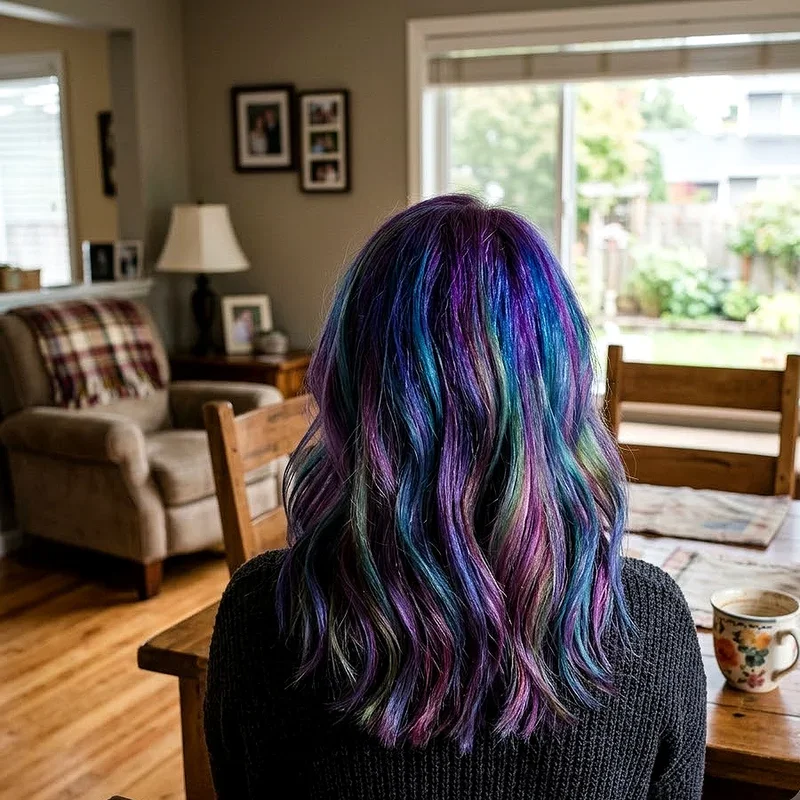
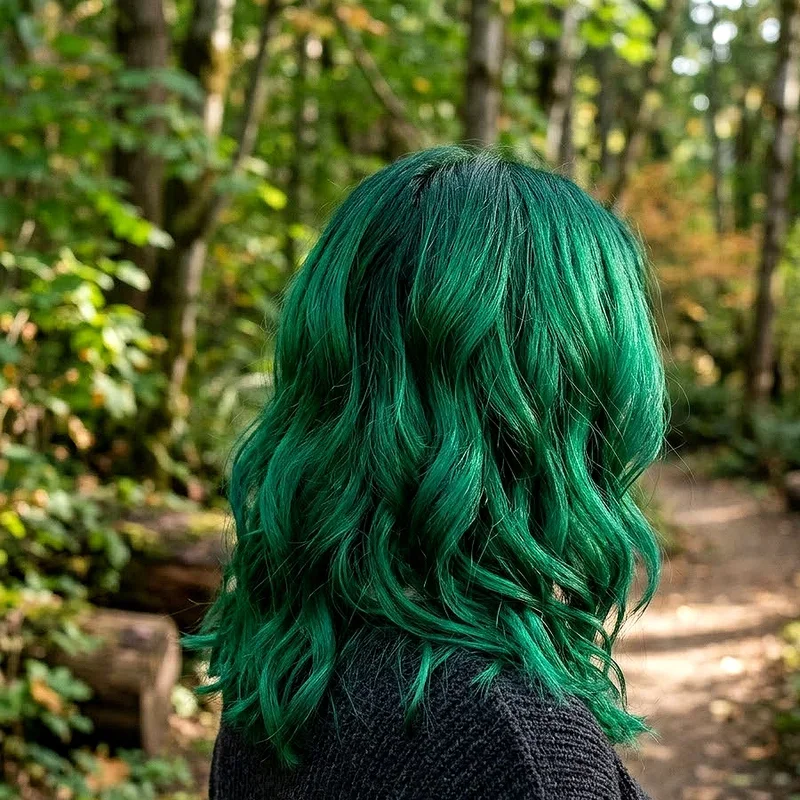
Let's face it, having thick hair might sound like a dream come true, but anyone who's blessed with an abundance of locks knows it can be a real handful. Your hair dryer takes forever, styling feels like an Olympic sport, and don't even get me started on how much product you go through in a month. If you've been struggling with heavy, unmanageable hair that just won't cooperate, you're definitely not alone. The good news? You don't need to book an expensive salon appointment to get some relief. Learning How to Thin Out Hair: Simple Techniques to Try at Home can literally transform your daily hair routine from frustrating to fabulous. Throughout this guide, we'll walk you through everything you need to know about safely thinning your hair without causing damage or ending up with regrettable results.
Understanding Why Hair Thinning Makes Sense
Before we jump into the how-to part, it's worth understanding why thinning your hair can be such a game changer. Thick hair has its perks, sure, but it also comes with some serious challenges that can make your life more complicated than it needs to be.
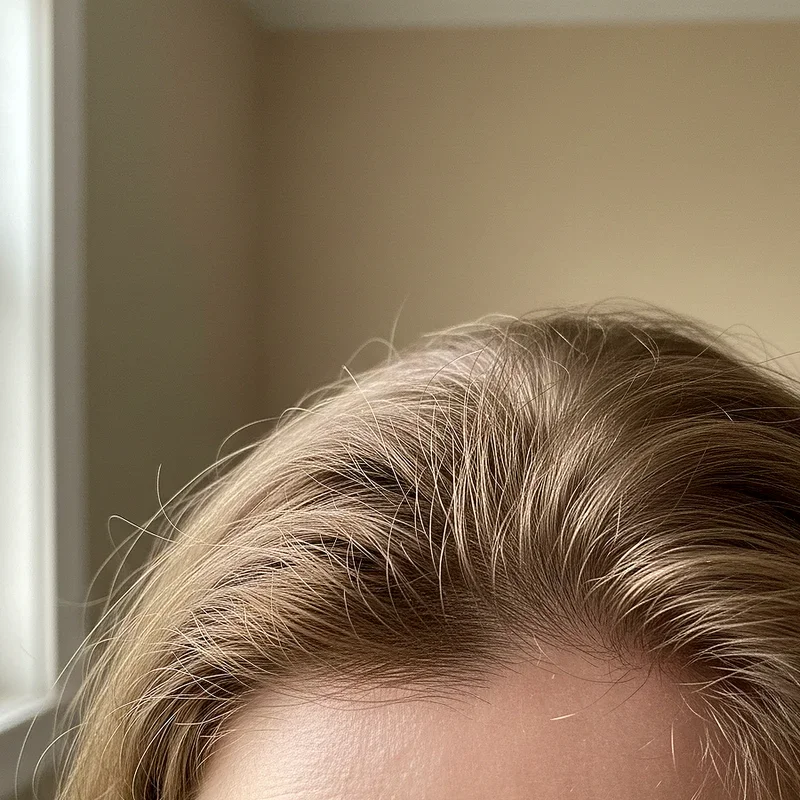
When you've got too much hair, it tends to hold onto heat and moisture like nobody's business. This means longer drying times, more product usage, and often a style that falls flat by midday because of the sheer weight. Thinning helps remove some of that bulk without sacrificing length, giving you hair that's easier to style and manage on a daily basis.
Plus, thinned hair tends to move more naturally and looks less heavy or triangular shaped. You know that dreaded pyramid effect that happens when thick hair just sits there? Yeah, thinning can help fix that. It creates movement, reduces volume where you don't want it, and makes your hair feel lighter on your head.
Gathering Your Hair Thinning Tools
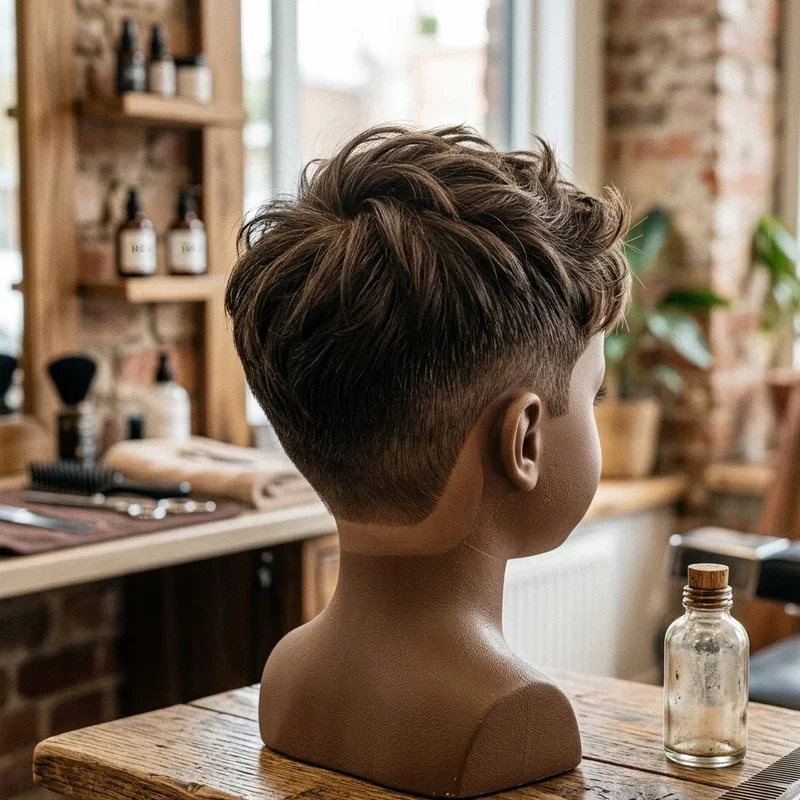
Alright, so you're ready to thin out your hair at home. First things first, you'll need the right tools for the job. Using regular scissors is a big no-no because they can create blunt, uneven lines that look choppy and damaged.
Thinning shears are your best friend here. These specialized scissors have teeth on one or both blades that remove only some of the hair while leaving the rest intact. You can pick up a decent pair online or at beauty supply stores for around fifteen to thirty dollars. Look for shears with around 30 to 40 teeth for general thinning purposes.
You'll also want a fine-toothed comb, some hair clips to section your hair, a spray bottle filled with water, and a mirror setup that lets you see the back of your head. Trust me, trying to thin your hair without seeing what you're doing is asking for trouble.
The Basic Thinning Technique for Beginners
When you're just starting out with How to Thin Out Hair: Simple Techniques to Try at Home, it's smart to begin with the most straightforward method. This technique works great for most hair types and gives you control over how much hair you're removing.
Start by washing and towel-drying your hair until it's damp, not soaking wet. Working with slightly damp hair makes it easier to see what you're doing and prevents you from removing too much at once. Section your hair into manageable pieces using your clips, starting with the underneath layers first.
Take a small section of hair, about one to two inches wide, and comb it straight. Hold your thinning shears at a 45-degree angle, positioning them about two to three inches away from your scalp. Never, and I mean never, start right at the roots unless you want some seriously weird-looking short pieces sticking up everywhere.
Close the shears once, then move down about an inch and close them again. Continue this pattern until you reach about two inches from the ends. The key here is restraint. You can always remove more hair, but you can't put it back once it's gone.
Point Cutting Method for Natural Results
Point cutting is another fantastic technique that creates texture while reducing bulk. This method is particularly great if you want a softer, more natural-looking result compared to traditional thinning shears.
To point cut, you'll use regular hairdressing scissors, not thinning shears. Take a section of hair and hold it taut between your fingers. Instead of cutting straight across, you'll cut into the ends of the hair at a slight angle, creating a pointed or jagged edge. This technique removes weight while maintaining length and creates a feathered effect that looks super natural.
The trick with point cutting is to keep your scissors pointing vertically into the hair rather than horizontally across it. Make small, deliberate snips, working your way through each section. This method takes a bit more time than using thinning shears, but the results are worth it.
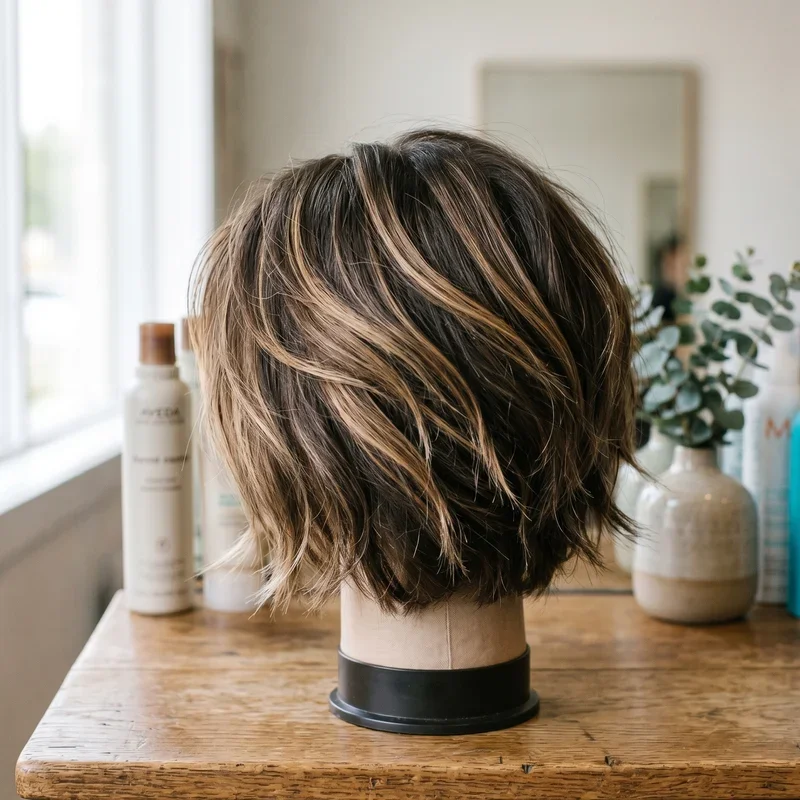
Layering Techniques to Reduce Bulk
Layering isn't exactly the same as thinning, but boy does it work wonders for reducing the appearance of thick, heavy hair. When you add layers, you're creating different lengths throughout your hair, which automatically removes some weight and adds dimension.
For a DIY layering approach, try the ponytail method. It's surprisingly effective and hard to mess up. Flip your head upside down and gather all your hair into a high ponytail at the very top of your head. Make sure it's smooth and centered. Secure it with a hair tie, then pull the ponytail forward so it's hanging in front of your face.
Decide how much length you want to remove and cut straight across the ponytail. When you let your hair down, you'll have layers that are shorter on top and longer underneath. This creates natural-looking layers that reduce bulk without requiring professional skills.
The Twist and Snip Method
Here's a technique that's been around forever because it actually works. The twist and snip method is particularly useful for removing bulk from specific areas where your hair feels extra thick or heavy.
Take a section of hair and twist it loosely until it starts to coil. Once twisted, you'll notice little pieces of hair sticking out along the length of the twist. Using your thinning shears or regular scissors held vertically, carefully snip these protruding pieces. This removes random strands throughout the section, creating a natural thinning effect.
The beauty of this method is that it's nearly impossible to create harsh lines or obvious thinning patterns. Work through your hair section by section, being careful not to go overboard in any single area.
Addressing Specific Problem Areas
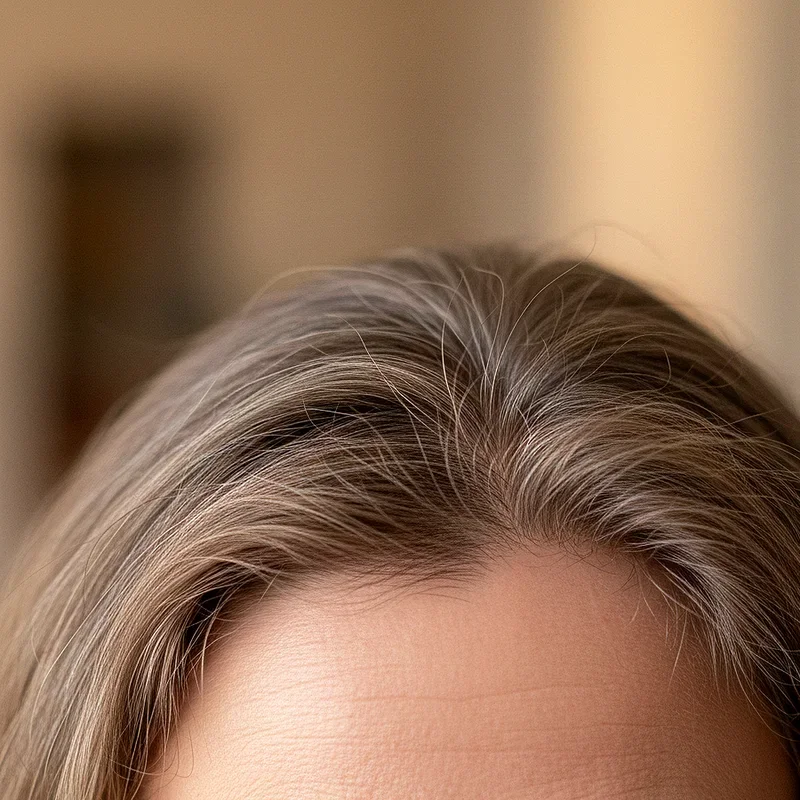
Not all thick hair is created equal. You might have extra bulk around your crown, heavy sides, or a thick underlayer that makes your hair feel like a blanket on your neck. Targeting these specific areas can make a huge difference in overall manageability.
For a heavy crown area, focus your thinning efforts on the hair at the top and back of your head, being careful to leave the very top layer intact. This surface layer acts as a cover for the thinned hair underneath, preventing your hair from looking sparse or damaged.
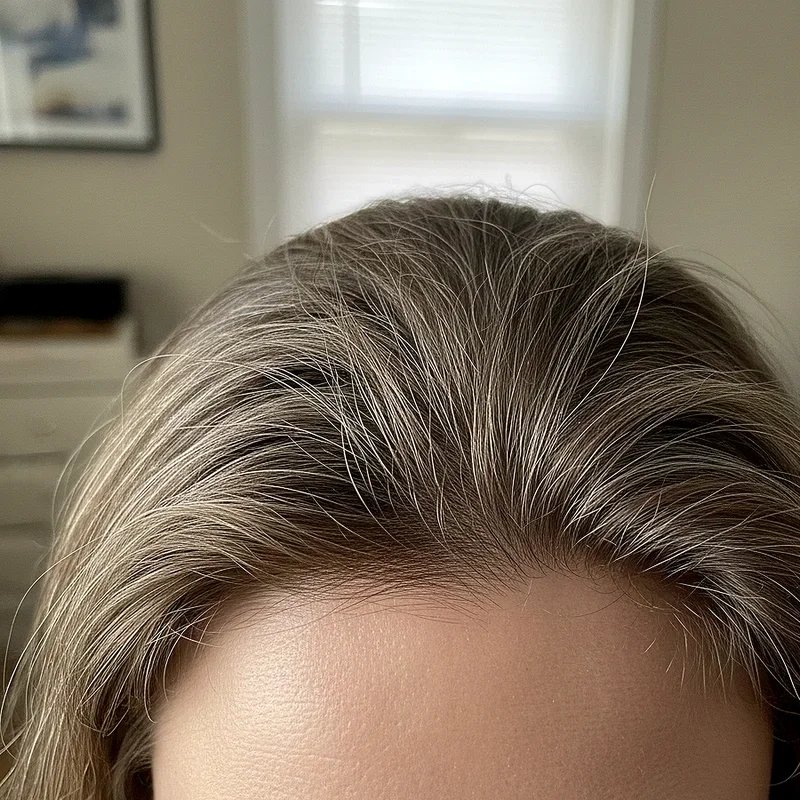
If your sides are particularly bulky, thin the hair around your temples and above your ears. This creates a more balanced silhouette and prevents that dreaded triangle shape. For thickness at the nape of your neck, concentrate on the underneath layers since these are typically hidden anyway.
Common Mistakes to Avoid
Even with the best intentions, it's easy to make mistakes when thinning your hair at home. Knowing what to avoid can save you from some seriously regrettable haircuts and potential damage.
The biggest mistake? Thinning too close to the roots. This creates short pieces that stick out awkwardly and can make your hair look damaged or poorly maintained. Always start at least two to three inches away from your scalp and work downward.
Another common error is thinning the top layer of your hair. This surface layer is what people see first, and if it's too thin, your entire head of hair will look sparse and unhealthy. Keep your thinning focused on the underlayers and mid-lengths.
Over-thinning is also a real concern. It's tempting to keep going when you're on a roll, but removing too much hair at once can leave you with a style that's too thin and takes months to grow back out. Work slowly and check your progress frequently.
Tips for Different Hair Types
Not all hair responds to thinning techniques the same way. Understanding your specific hair type helps you choose the best approach for your individual needs.
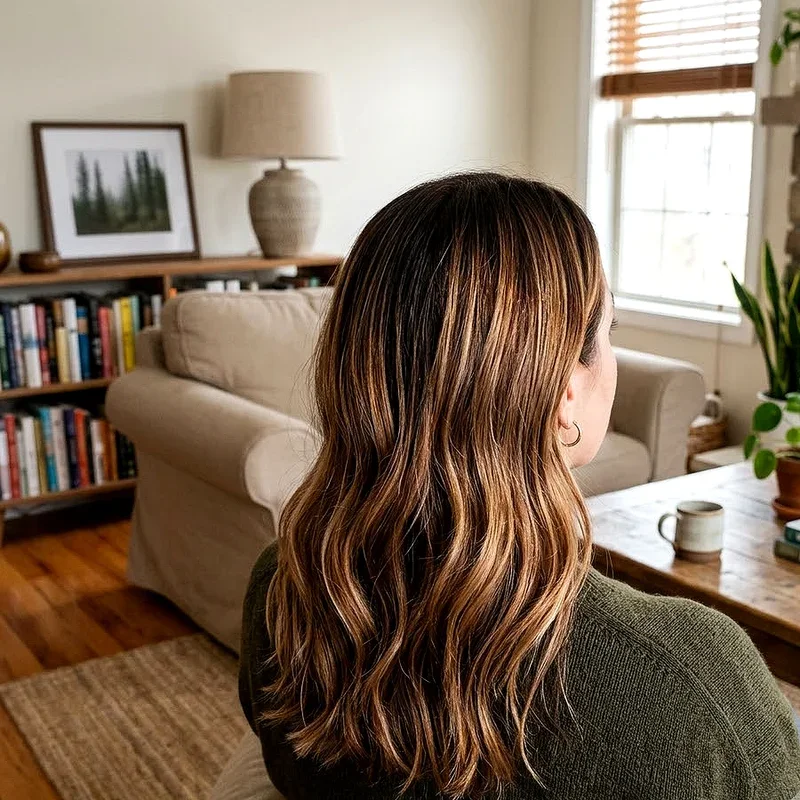
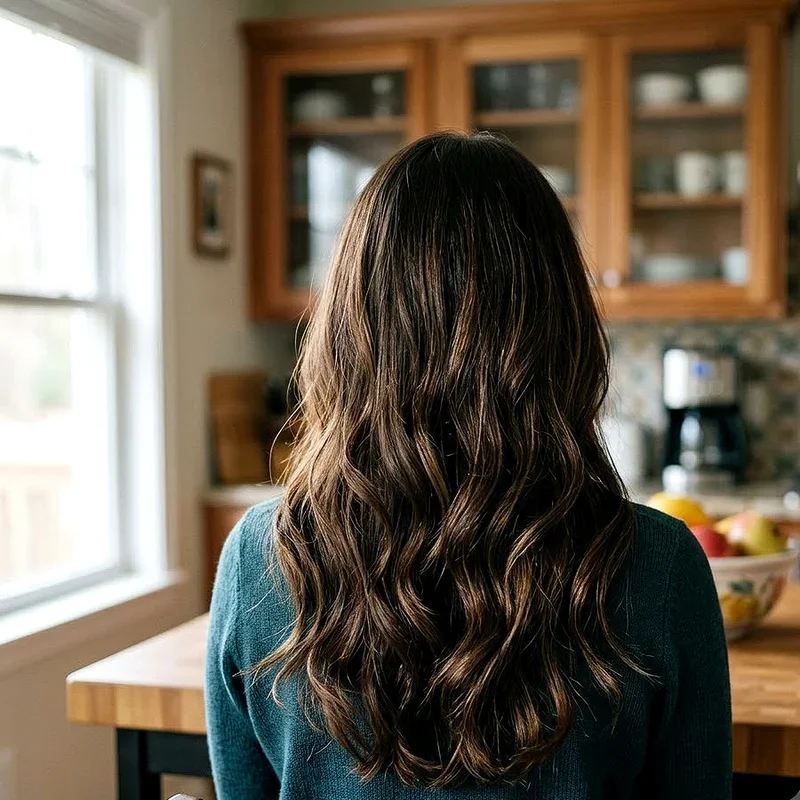
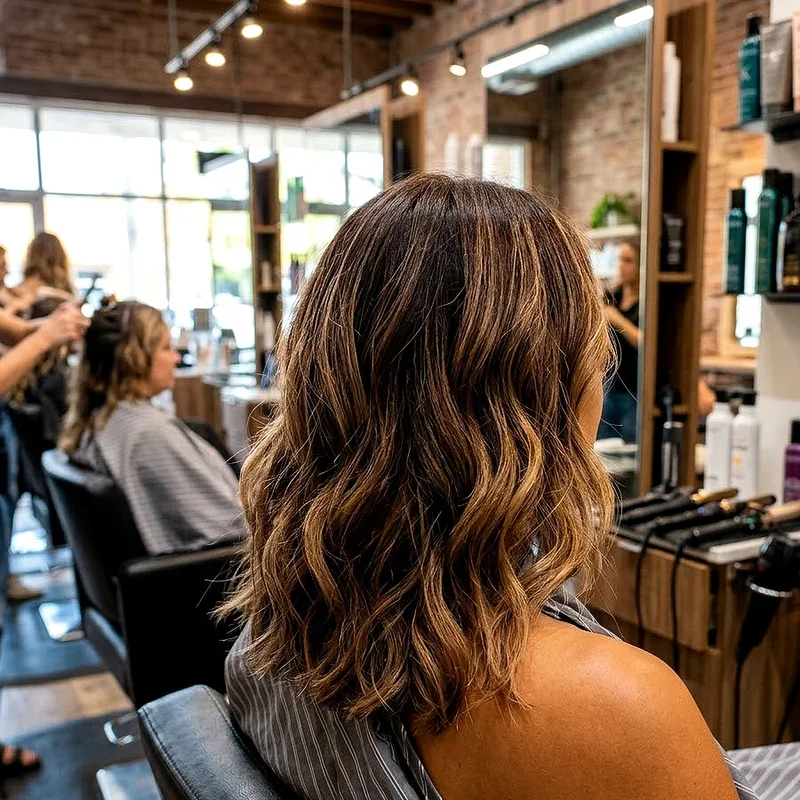
For straight hair, pretty much any thinning technique works well. Straight hair shows the effects of thinning clearly, so you'll want to be particularly careful about evenness and blending.
Wavy hair benefits from strategic thinning that enhances natural texture. Focus on removing bulk from the underlayers while leaving enough weight in the top layers to control frizz. The twist and snip method works wonderfully for wavy hair.
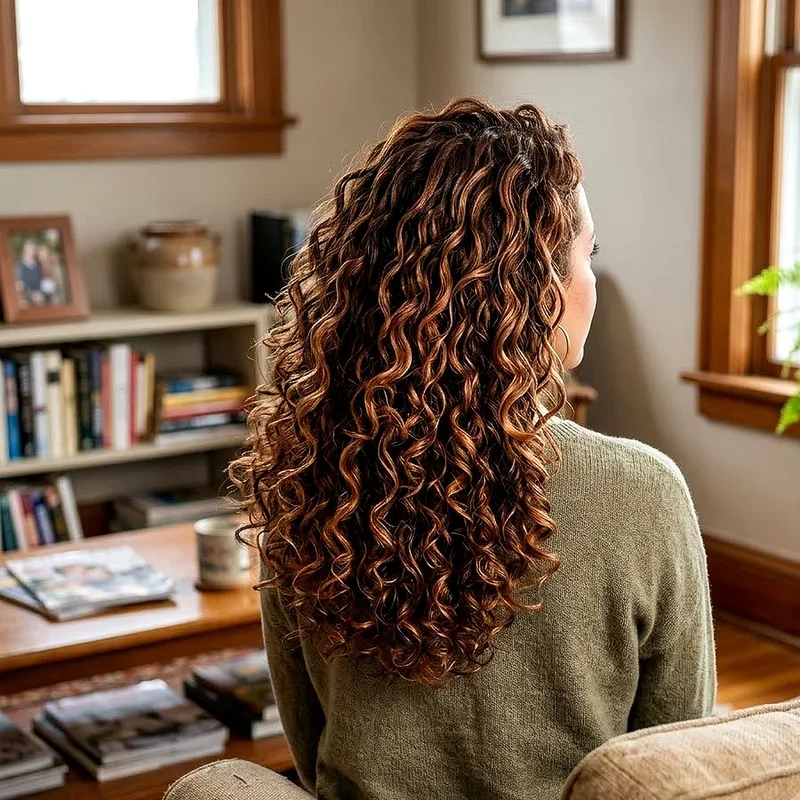
Curly hair requires a gentler approach. Over-thinning can disrupt curl patterns and create frizz. Instead of aggressive thinning throughout, focus on removing weight from specific areas and consider layering as your primary bulk-reduction technique.
Coily hair is the most delicate when it comes to thinning. This hair type is naturally prone to dryness and breakage, so aggressive thinning can cause damage. If you have coily hair, consider consulting a professional or focusing mainly on layering techniques.
Maintaining Healthy Hair While Thinning
Thinning your hair removes some strands, but that doesn't mean your remaining hair should suffer. Maintaining healthy hair throughout the thinning process ensures your hair looks its best and remains strong.
Deep conditioning treatments become even more important when you're regularly thinning your hair. Use a quality deep conditioner or hair mask once a week to keep your strands moisturized and prevent damage.
Regular trims help maintain the shape and health of thinned hair. Even though you're removing bulk, you still need to trim the actual ends every six to eight weeks to prevent split ends from traveling up the hair shaft.
Protect your hair from heat damage by using heat protectant sprays before blow-drying or using hot tools. Thinned hair can be more susceptible to damage because you've altered its natural structure.
Styling Your Newly Thinned Hair
Congratulations! You've successfully thinned your hair at home. Now comes the fun part: enjoying your lighter, more manageable locks. Your styling routine is about to get so much easier.
You'll probably notice that your hair dries faster, which is honestly one of the best benefits of thinning. Take advantage of this by experimenting with air-drying or using lower heat settings on your dryer.
Products spread more easily through thinned hair, so you can use less than before. Start with smaller amounts and add more if needed. You might find that you actually use half the product you used to, which saves money in the long run.
Thinned hair typically holds styles better because there's less weight pulling everything down. Your curls will have more bounce, your waves will look more defined, and even simple styles like ponytails will feel lighter and more comfortable.
When to See a Professional
While How to Thin Out Hair: Simple Techniques to Try at Home works great for many people, there are times when calling in a professional makes more sense. Knowing when to DIY and when to seek help prevents potential hair disasters.
If you have extremely thick hair that requires significant thinning, a professional stylist can assess your hair and create a customized plan. They have specialized tools and training that allows them to remove bulk more efficiently and evenly than most home attempts.
Complex haircuts that involve both thinning and significant shape changes are better left to professionals. If you want layers, thinning, and a new style all at once, book an appointment.
If you've accidentally over-thinned your hair or created an uneven result, don't try to fix it yourself. A professional can assess the damage and create a plan to even things out while your hair grows back.
Conclusion
Managing thick hair doesn't have to mean expensive salon visits every few weeks. With the right tools, techniques, and a bit of patience, you can absolutely thin your hair at home and achieve professional-looking results. Remember to work slowly, check your progress frequently, and resist the urge to remove too much at once. Whether you choose thinning shears, point cutting, or layering techniques, the goal is creating hair that's easier to manage while maintaining its health and beauty. Your newly lightened locks will thank you.
Read next: 15 Winter Blonde Hair Ideas to Brighten Cold-Weather Styles
Frequently Asked Questions
Q1: Can thinning shears damage my hair if used incorrectly?
A: Yes, improper use can cause split ends and breakage in your hair strands.
Q2: How much hair should I remove during a thinning session?
A: Remove only 10 to 20 percent of bulk to avoid over-thinning problems.
Q3: Is it safe to thin wet or dry hair?
A: Damp hair works best as it provides control and accurate cutting results.
Q4: Can I thin already fine or thinning hair?
A: No, thinning fine hair will make it appear sparse and unhealthy looking.
Q5: How long does it take for thinned hair to grow back?
A: Hair grows approximately half an inch monthly, so several months for noticeable regrowth.
Stay up to date with our latest ideas!