How to Install Clip In Hair Extensions for a Natural Look
Learn how to install clip in hair extensions for a natural look with easy steps, pro tips, and blending tricks for every hair type.
Let's be real for a second. We've all had those mornings where you stare at your reflection and think, "My hair could use a little something extra." Maybe it's volume you're craving, or perhaps you want that long, flowing mane you've seen on every influencer from here to Timbuktu. Whatever the reason, clip in hair extensions have become the go-to solution for people who want gorgeous hair without a long-term commitment. They're like the rental car of the beauty world. You get all the perks, none of the strings attached, and you can return them whenever you feel like it. But here's the thing. Slapping extensions into your hair without knowing the ropes can leave you looking, well, a bit off.
Why Clip In Extensions Are a Game Changer
Before we dive into the nitty-gritty of installation, it's worth talking about why clip ins have taken the beauty world by storm. Unlike sew-ins, tape-ins, or bonded extensions, clip ins don't require a trip to the salon. You pop them in when you want them, and you take them out before bed. Simple as that. There's no glue, no heat, and no damage to your natural strands. For anyone who's been burned by permanent methods in the past, that's music to your ears.
They're also incredibly versatile. Heading to a wedding this weekend? Clip them in for some extra oomph. Got a casual brunch with friends? Leave them out and rock your natural texture. The freedom that comes with clip ins is honestly hard to beat, and once you've got the technique down, you'll wonder how you ever lived without them.
Choosing the Right Clip In Extensions for Your Hair
Now, this is where a lot of people trip up. Picking the wrong extensions is like buying shoes that don't fit. Sure, they might look pretty in the box, but once you put them on, something just feels wrong. The first thing you want to consider is the color. And I'm not just talking about getting "close enough." You want an exact match, or at the very least, something that blends with your highlights and lowlights. Most reputable brands offer color matching services, and you'd be doing yourself a favor by taking advantage of them.
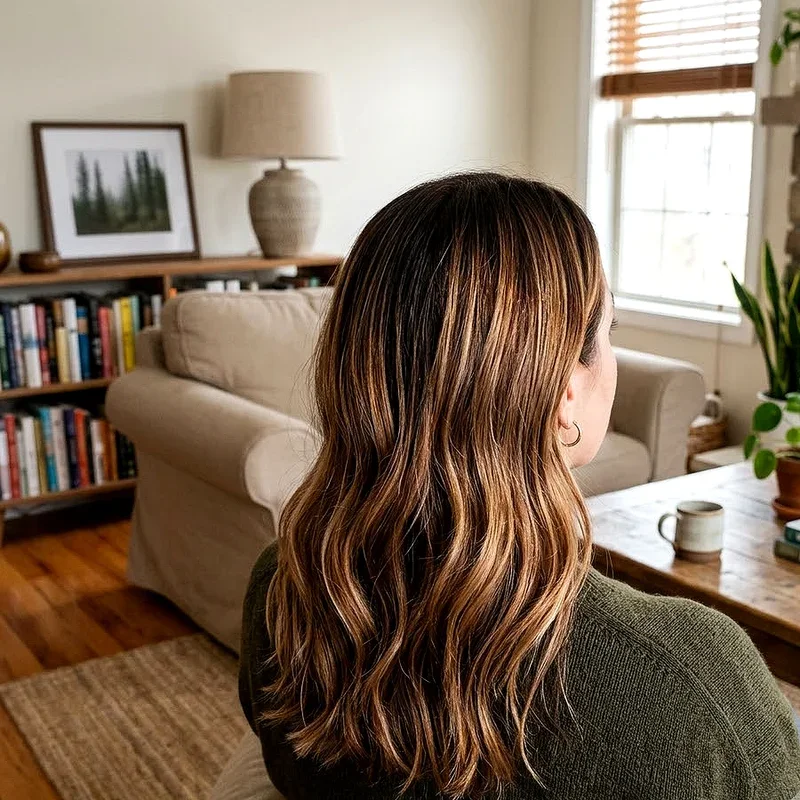
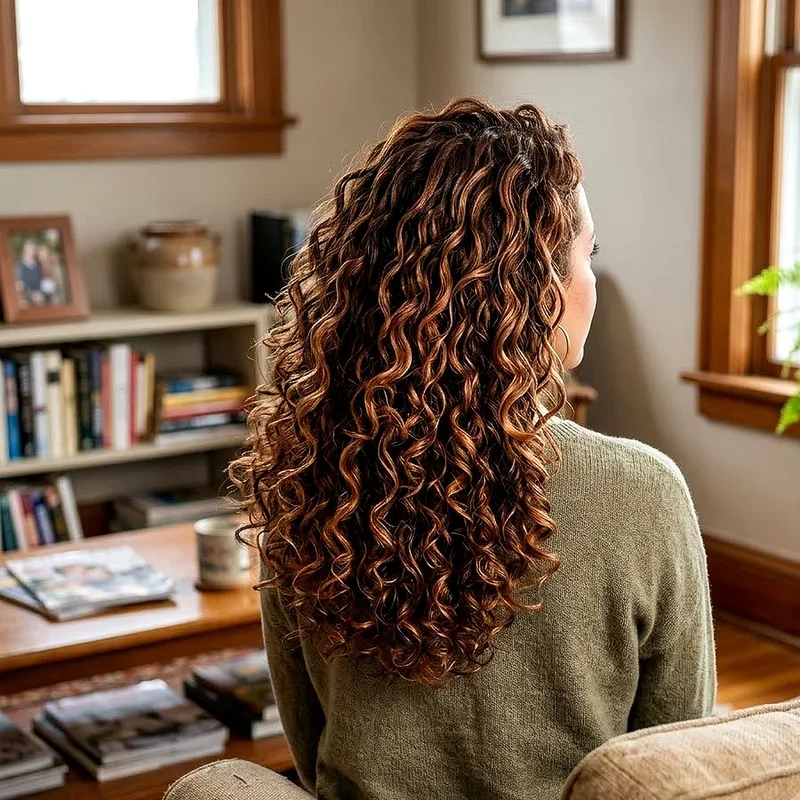
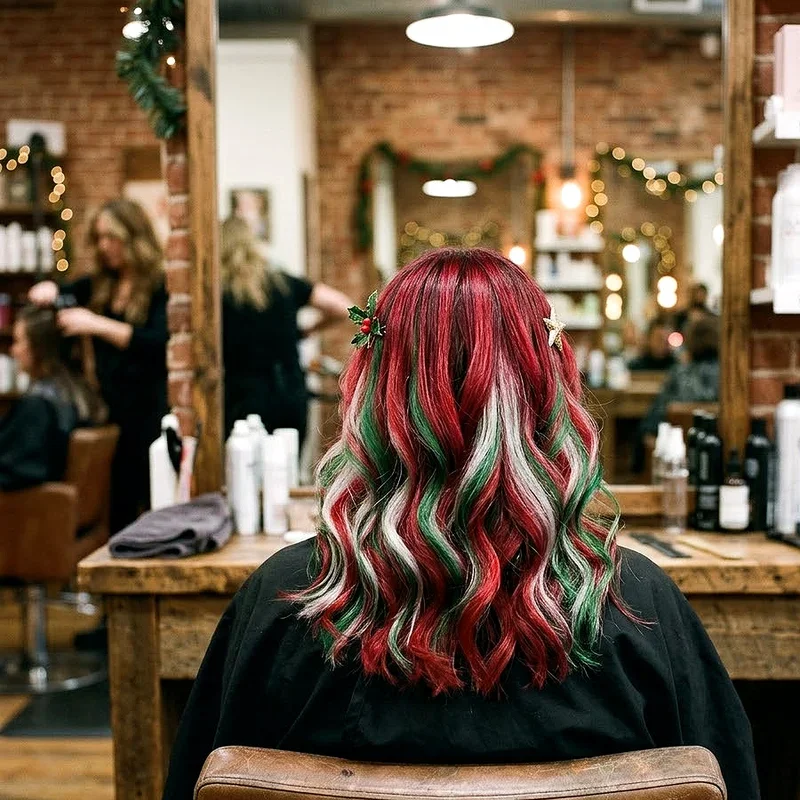
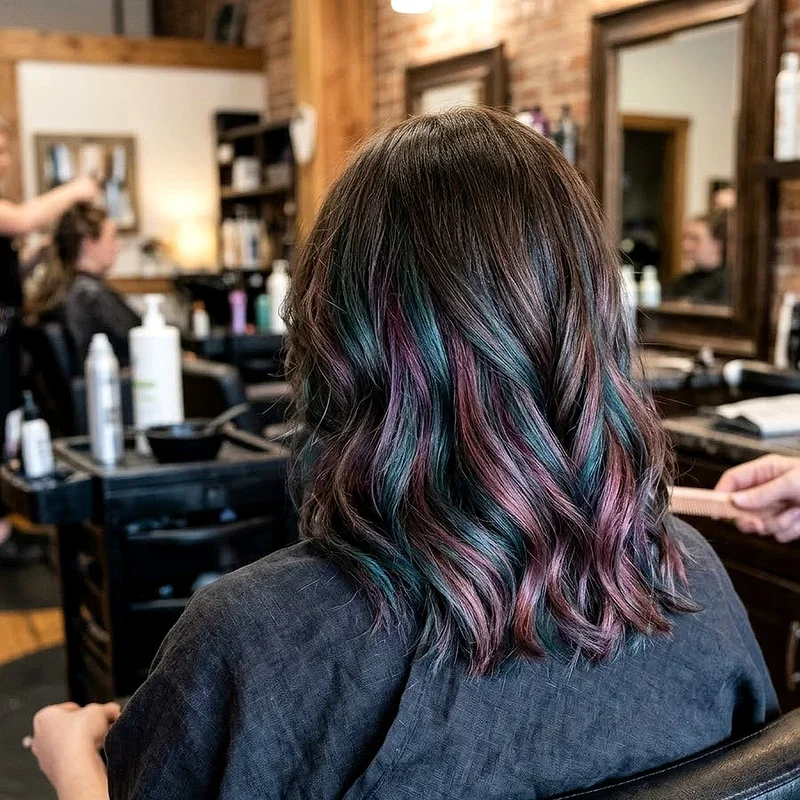
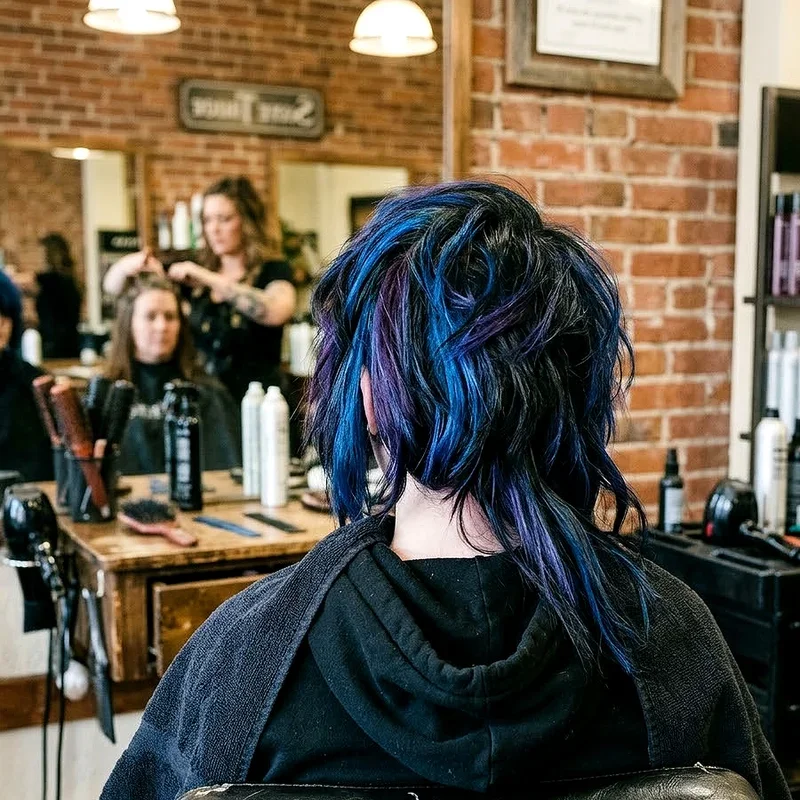
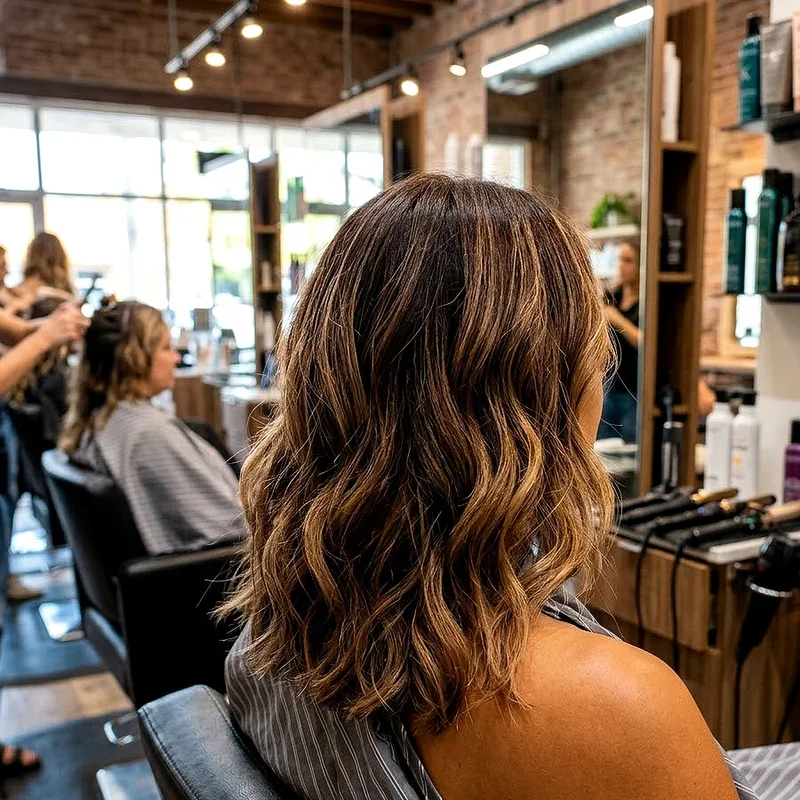
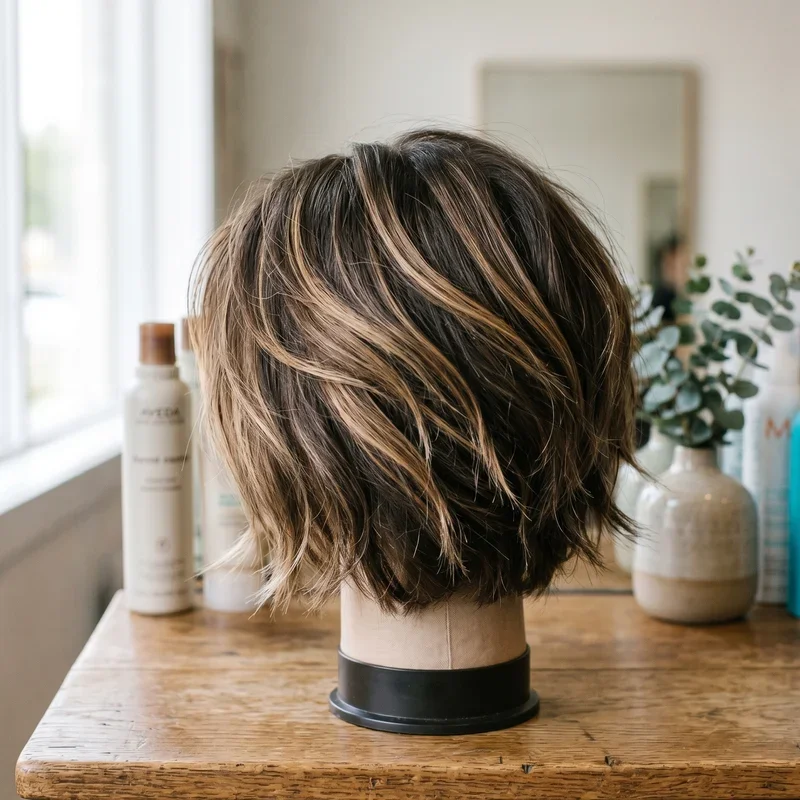
Texture matters just as much as color. If you've got naturally wavy hair, straight extensions are going to look out of place unless you plan on styling them every single time. Look for extensions that mimic your natural texture, whether that's straight, wavy, or curly. And don't skimp on quality. Remy human hair extensions are widely considered the gold standard because the cuticles are aligned in the same direction, which means less tangling and a more natural appearance overall.
Tools and Products You Will Need Before Getting Started
Preparation is half the battle. Before you start clipping anything in, make sure you've got your toolkit ready. Here's what you'll want to have on hand:
• A rattail comb for creating clean sections and parts
• A mirror setup that lets you see the back of your head
• Bobby pins and hair clips for holding sections in place
• A lightweight hairspray or texturizing spray for grip
• A flat iron or curling wand for blending after installation
• Your clip in extension set, laid out and organized by weft size
Having everything within arm's reach makes the whole process smoother and faster. Trust me, you don't want to be rummaging through drawers with one hand while holding a section of hair with the other.
Step by Step Guide on How to Install Clip In Hair Extensions for a Natural Look
Alright, here's the moment you've been waiting for. Let's break down the actual installation process step by step so you can get it right from the very first try.
Step 1: Prep Your Natural Hair
Start with clean, dry hair. Freshly washed hair can be a bit slippery, so if you washed it that morning, spritz a little texturizing spray throughout your strands. This gives the clips something to grip onto, which prevents them from sliding down throughout the day. Brush out any tangles from root to tip and make sure your hair is completely smooth before moving on.
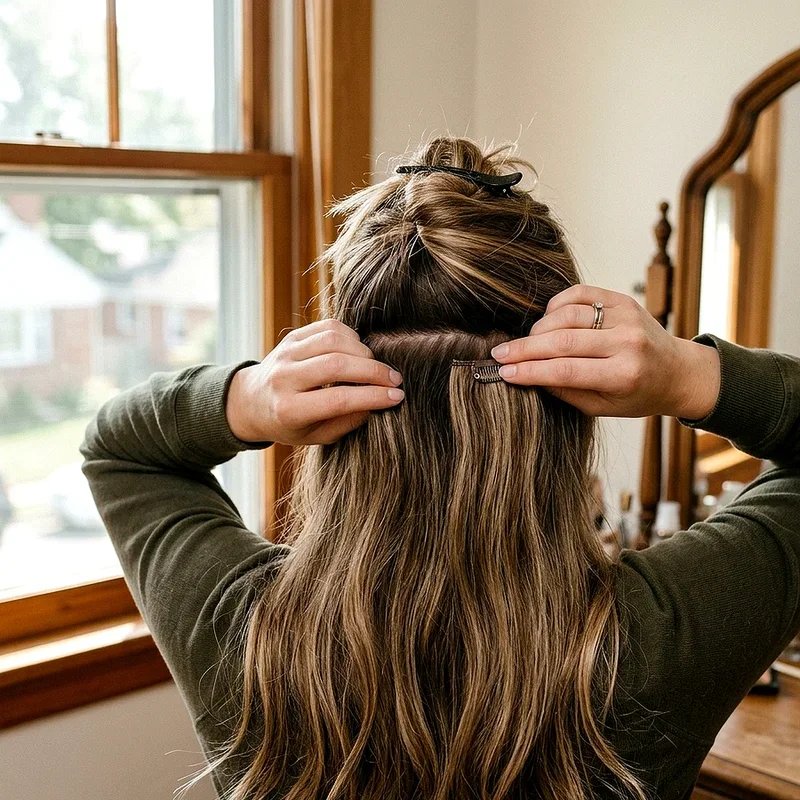
Step 2: Section Your Hair Properly
Using your rattail comb, create a horizontal part about one inch up from your nape. Clip the rest of your hair up and out of the way. This bottom section is where you'll place your first weft. The key here is to keep your sections thin and even. If you make them too thick, the clips won't sit flat against your head, and that's a dead giveaway. Think of it like layering a cake. Each layer needs to be just right for the whole thing to come together beautifully.
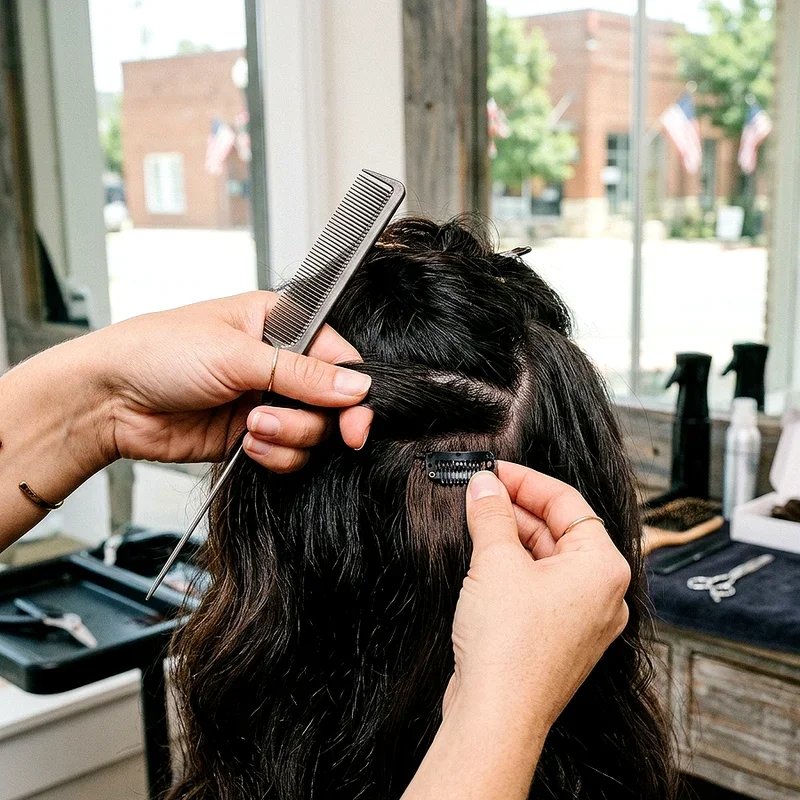
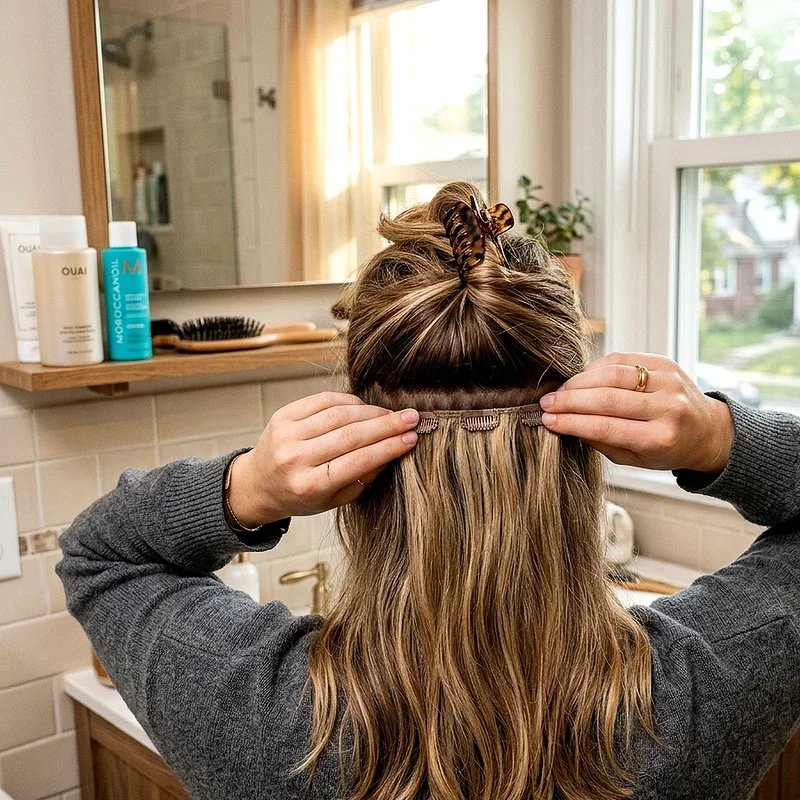
Step 3: Attach the Wefts from Bottom to Top
Open all the clips on your first weft, which should be one of the wider pieces. Line it up along the section you just created, centering it at the back of your head. Snap the center clip first, then work your way outward, securing each clip as you go. Once the first weft is in place, release another thin section of hair about an inch above the first one, and repeat. Continue working your way up, alternating between wider and narrower wefts depending on the area. The sides of your head, for instance, typically need the smaller one-clip or two-clip wefts.
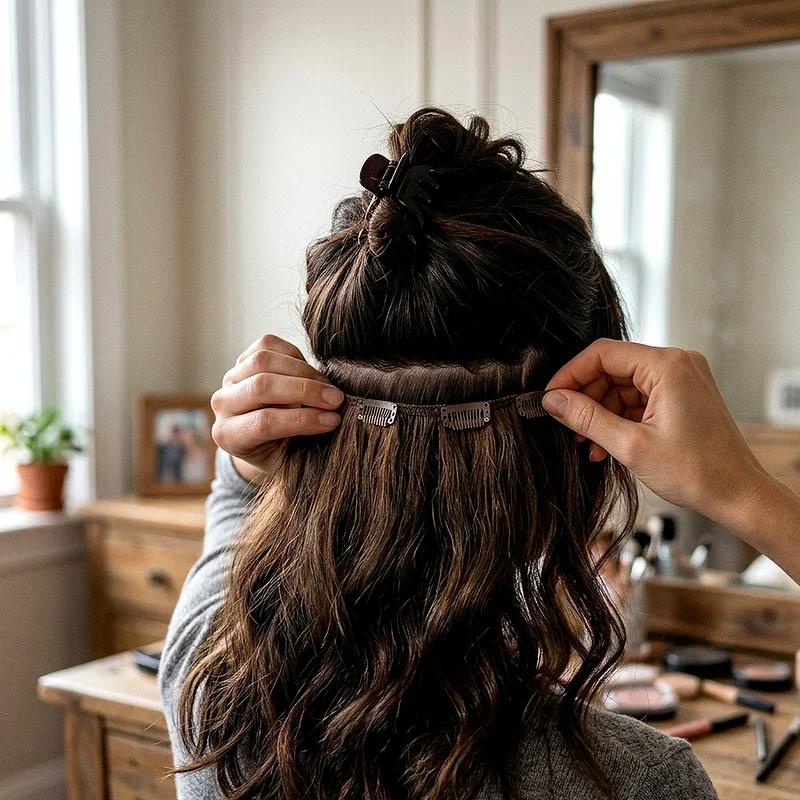
Step 4: Leave Enough Hair on Top for Coverage
This is a mistake that catches a lot of beginners off guard. You need to leave a generous layer of your own hair on top to drape over the extensions. If you clip wefts too close to your part or hairline, the clips and tracks will be visible. A good rule of thumb is to stop placing wefts about two inches below your part line. That way, your natural hair falls over the extensions and hides everything underneath.
Blending Extensions with Your Natural Hair
Getting the extensions in is only half the job. The real magic happens when you blend them with your natural hair so seamlessly that nobody can spot the difference. This is where a lot of first-timers struggle, but honestly, it's not rocket science once you know a few tricks.
First, run a brush gently through your natural hair and the extensions together. This helps merge the two textures and gets rid of any obvious lines of demarcation. If your extensions are a slightly different texture than your natural hair, use a flat iron or curling wand to create uniform waves or curls throughout. Curls are especially forgiving when it comes to hiding where your hair ends and the extensions begin.
Another trick that works wonders is to lightly backcomb the roots where you've placed the clips. This adds a little cushion and lift, which not only keeps the clips secure but also creates that natural volume that makes everything look cohesive.
Common Mistakes People Make with Clip In Extensions
Even seasoned extension wearers mess up from time to time, so don't beat yourself up if things don't look perfect on day one. That said, there are a few pitfalls you'll want to steer clear of. Placing too many wefts in one area can create an unnatural bulge that's hard to disguise. On the flip side, using too few wefts might not give you the volume or length you're after. Finding that sweet spot takes a little experimentation, but once you nail it, you'll know exactly what works for your head.
Skipping the teasing step is another common blunder. Without a bit of backcombing at the roots, the clips can slowly slide down, especially if you've got fine or silky hair. And let's not forget about color matching. Even a shade off can make your extensions look obviously fake, so take the time to get that part right before you even think about installation.
Styling Tips After You Have Installed Your Extensions
Once your extensions are clipped in and blended, you've got a whole world of styling options at your fingertips. Loose waves are probably the most popular choice because they look effortlessly gorgeous and do an amazing job of disguising where the extensions meet your natural hair. Simply wrap random sections around a curling wand, alternate directions, and finish with a light mist of flexible hold hairspray.
Half-up, half-down styles also work beautifully with clip ins. Just be mindful of where you're pulling the hair up so you don't accidentally expose any clips. A low bun or ponytail can be stunning too, but you might need to adjust the placement of your wefts a bit to accommodate updo styles. The beauty of clip ins is that you can rearrange them to suit whatever look you're going for on any given day.
How to Care for Your Clip In Hair Extensions
Taking care of your extensions is just as important as installing them correctly. After all, you've invested good money in them, and you want them to last. Always remove your clip ins before going to bed. Sleeping with them in can cause tangling, matting, and unnecessary stress on both the extensions and your natural hair. Store them flat or hang them on an extension hanger to keep them from getting tangled.
When it comes to washing, less is more. You don't need to wash them after every wear. Once every fifteen to twenty wears is usually sufficient, depending on how much product you use. Wash them with a gentle, sulfate-free shampoo and let them air dry on a towel. Avoid rubbing or wringing them out, as that can damage the hair fibers and shorten their lifespan considerably.
Can Clip In Extensions Work for Short Hair
This is a question that pops up all the time, and the answer is yes, but with a few caveats. If your hair is at least shoulder length, you should be able to blend clip ins without too much trouble. Anything shorter than that, and things get a bit trickier. The main concern with short hair is having enough natural hair to cover the wefts and clips. If the extensions are peeking out from underneath, the whole illusion falls apart.
For shorter styles, consider using fewer wefts and opting for extensions that match your current length rather than going dramatically longer. You can also cut and layer your extensions to match your haircut, which makes a world of difference when it comes to achieving a natural finish. A skilled stylist can help you customize the extensions to your specific hair length and shape.
How to Install Clip In Hair Extensions for a Natural Look on Different Hair Types
Not all hair is created equal, and the way you install extensions will vary depending on your hair type. If you've got thick, coarse hair, you're in luck because extensions tend to blend effortlessly with dense strands. You might even be able to get away with fewer wefts since your natural hair already provides plenty of volume. Just make sure the extensions are thick enough to hold their own against your natural texture.
For those with fine or thin hair, the approach is a bit different. You'll want to be strategic about weft placement to avoid creating obvious lumps. Use narrower wefts and space them out more evenly. Teasing the roots before clipping is absolutely essential for fine hair, as it gives the clips a solid foundation to grip. And here's a pro tip: choose extensions that are slightly lighter in weight so they don't weigh your natural hair down and create an unflattering flat look at the crown.
How Long Can You Wear Clip In Extensions in a Day
While clip ins are designed for daily wear, that doesn't mean you should keep them in around the clock. Most experts recommend wearing them for no more than six to eight hours at a stretch. Wearing them for extended periods can put tension on your natural hair, especially around the areas where the clips are attached. Over time, this tension can lead to breakage or even traction alopecia if you're not careful.
Give your hair a break on days when you don't need the extra volume or length. Think of it like wearing heels. They look amazing, but you wouldn't want to run a marathon in them. Your natural hair needs time to breathe and recover, so be kind to it.
The Role of Color Matching in Achieving a Natural Finish
We touched on this earlier, but it's worth drilling down a bit more because color matching can truly make or break your extension experience. When you're shopping for extensions, don't just look at the color in the photo online. Order swatches if possible, or buy from a store that accepts returns. Hold the extension up to your hair in natural daylight, not under fluorescent bulbs, because artificial lighting can be deceiving.
If you've got multi-tonal hair with highlights or balayage, look for extension sets that come in rooted or blended shades. Some brands even offer sets specifically designed for highlighted hair, which can save you a ton of hassle. And if you absolutely can't find a perfect match off the shelf, you can always have a professional colorist dye the extensions to suit your exact shade. Just make sure they're human hair extensions, because synthetic ones won't take dye well at all.
Budget Friendly Options vs Premium Clip In Extensions
When it comes to clip in extensions, you generally get what you pay for. Budget-friendly options are great for occasional use or for trying out the look before committing to a higher-end set. They'll do the job for a night out or a special event, but they might not hold up to daily wear and frequent heat styling. The hair can start looking dry and frizzy after a few uses, and the clips may lose their grip sooner than you'd like.
Premium extensions, on the other hand, are an investment that pays off over time. High-quality Remy human hair extensions can last anywhere from six months to over a year with proper care. They look more realistic, feel softer to the touch, and blend more naturally with your own hair. If you plan on wearing extensions regularly, spending a little more upfront will save you money and frustration in the long run.
Troubleshooting When Your Extensions Do Not Look Right
So you've followed all the steps and something still looks a little off. Don't panic. There are a few quick fixes that can sort things out. If the extensions feel bulky at the ends, try trimming them with a pair of sharp shears. Cut at an angle rather than straight across to create a more natural, tapered look. If you notice a visible line where the extensions start, blend it by curling or waving the hair at that point to create movement that disguises the transition.
If the clips keep slipping, it might be because your hair is too clean or too smooth. A little dry shampoo or texturizing powder at the roots works wonders for adding grip. And if the extensions just feel too heavy, consider removing a weft or two. Sometimes less really is more, and pulling back on the amount of extra hair can actually give you a more believable result.
Final Thoughts on Mastering the Art of Clip In Extensions
Learning how to install clip in hair extensions for a natural look isn't something that happens overnight. Like any skill, it takes practice, patience, and a willingness to experiment until you find what works best for you. But once you've got it figured out, the results are absolutely worth the effort. You'll have the power to transform your hair in minutes, whether you're adding volume for a big event or just feeling like switching things up on a random Tuesday.
The beauty of clip ins is that they put you in the driver's seat. No salon appointments, no permanent changes, and no damage to your natural hair. Just beautiful, confidence-boosting results whenever you want them. So go ahead, give it a try. Your dream hair is literally just a few clips away.
Conclusion
Mastering how to install clip in hair extensions for a natural look is all about preparation, placement, and blending. Once you've picked the right color and texture, the rest comes down to practice and patience. Remember to section your hair properly, work from bottom to top, and leave plenty of natural hair on top for coverage. With a little effort and the right technique, you can achieve salon-worthy results right at home without spending a fortune or damaging your precious strands.
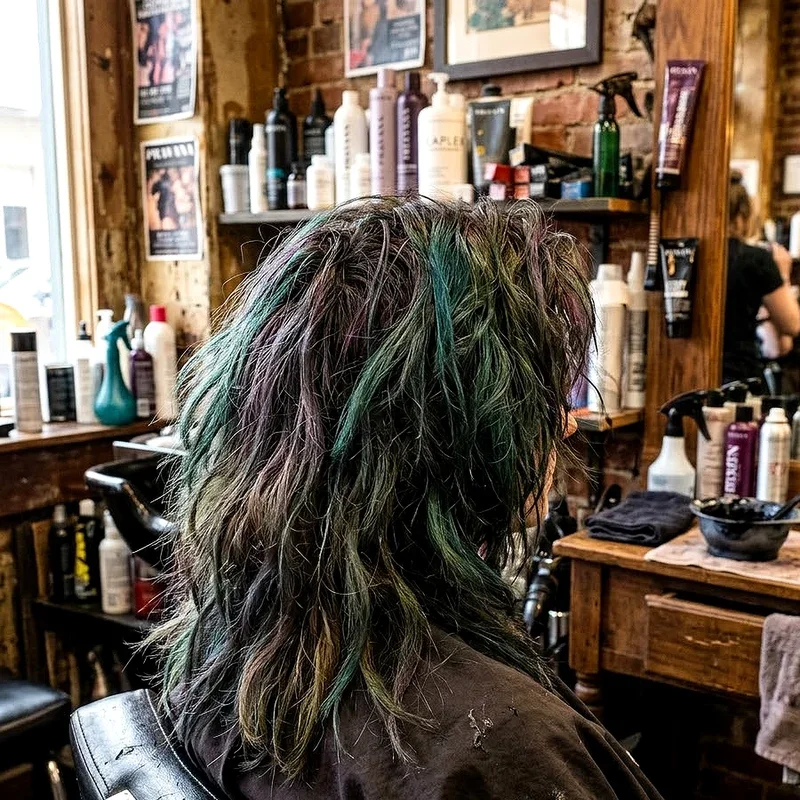
Read next: 15 Green and Black Hair Ideas for Unique Hairstyles
Frequently Asked Questions
Q1. How long does it take to install clip in hair extensions?
A: It typically takes about ten to fifteen minutes once you get comfortable with the process.
Q2. Can I sleep with clip in hair extensions still in my hair?
A: No, always remove them before sleeping to prevent tangling and damage to your natural hair.
Q3. Will clip in extensions damage my natural hair over time?
A: They won't cause damage when installed correctly and removed daily as recommended by experts.
Q4. How do I choose the right color for my clip in extensions?
A: Match extensions to your mid-lengths in natural daylight and order swatches before purchasing.
Q5. Can I use heat styling tools on clip in hair extensions?
A: Yes, human hair extensions can be heat styled, but always use a heat protectant spray first.
Stay up to date with our latest ideas!